How to connect your Bluetooth headphones to a laptop/desktop computer
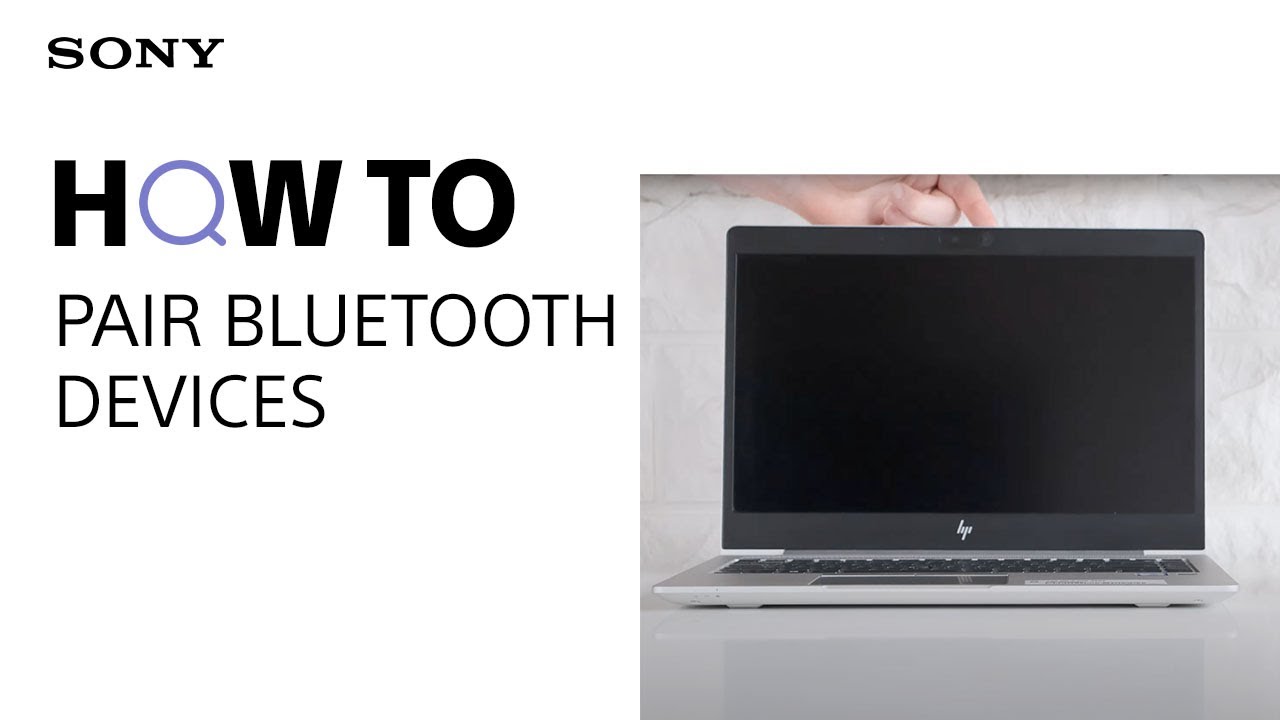
Check out the following video from the Sony Bluetooth Series to learn how to connect your Bluetooth device to a Windows or Apple computer.
For more detailed information, follow the three steps in the article below.

Step 1: Put the device you want to connect to your computer into pairing mode
By entering pairing mode, you make the device you want to connect to your laptop or desktop computer discoverable.
The steps to enter pairing mode may vary depending on the device you want to connect (headphones, speakers, smartphone, etc.).
- Example: The WH-1000XM4 wireless Bluetooth headset immediately goes into pairing mode when used for the first time.
- However, the second time you pair it, you will have to press and hold the pairing mode button for 7 seconds.
How do I put my Bluetooth headphones into pairing mode?
- Bluetooth speakers and headphones have a pairing button. To activate pairing mode, press and hold the pairing button for several seconds
- If you are using your Bluetooth speakers or headphones for the first time, they will most likely go into pairing mode automatically when you turn them on.
- The pairing procedure might be different for a device which has just been unboxed and a device which has already been paired before.
- E.g. The WH-1000XM4 wireless Bluetooth headset immediately goes into pairing mode when used for the first time.
- However, the second time you pair it, you will have to press and hold the pairing mode button for 7 seconds.
- Ensure your device is not already connected to its last-connected Bluetooth device. Bluetooth devices can automatically connect with previously paired devices if Bluetooth is enabled and both devices are placed near each other.
Visit your product’s manual for everything you need to know about pairing mode. Go to Sony's support website and search for your model name in the search box.
Once you've found your product's page, click on [Help guide (Web manual)] and go to the section: Making connections → Computers.
- Example: This is the product page and the Help guide (Web manual) of the WH-1000XM4 wireless noise canceling headset.
Step 2: Enable Bluetooth on your laptop/desktop computer
- Click on [Settings] from the taskbar or from the [Start] menu.
- Click on [Bluetooth & devices]
- Ensure Bluetooth is set to [ON].
- Click the [Start] button, then go to [Settings].
- Click on [Devices].
- Click the [Bluetooth & other devices]/[Bluetooth] tab and ensure Bluetooth is set to [ON].
- If Bluetooth is not set to [ON], select [More Bluetooth options] / [Advanced Bluetooth settings] underneath Related Settings.
- The Bluetooth settings window will open. In the first tab [Options] you will see a [Discovery] section with the [Allow Bluetooth devices to find this PC] option.
- Check the [Allow Bluetooth devices to find this PC] option and click the [Apply] button at the bottom.
Attention:
Remember to turn OFF Airplane mode (Windows 10)
- Go to [Start].
- Select [Settings].
- Go to [Network & Internet].
- Change the option [Airplane Mode] to [OFF].
- Go to [Control Panel].
- Use the search function (Ctrl + F) to find [Bluetooth].
- Click on [Change Bluetooth settings] and ensure the following settings are enabled:
- Allow Bluetooth devices to find this computer.
- Allow Bluetooth devices to connect to this computer.
- Alert me when a new Bluetooth device wants to connect.
- Press [Apply].
- On your Mac, choose Apple menu → System Preferences, then click Bluetooth. Your Mac is now discoverable.
- Alternatively, go the top menu bar and click on the Bluetooth icon if it is available.
- Ensure Bluetooth is enabled.
Step 3: Pair and set up your device
In the following example, we will be pairing the WH-1000XM4 Wireless Headphones.
- Click on [Settings] from the taskbar or from the [Start] menu.
- Click on [Bluetooth & devices]
- Select [Add device].
- Click [Bluetooth].
- Click [WH-1000XM4] with the Headphones icon and indication ‘Audio’.
- Confirm to complete the pairing and click [Done].
The next step after pairing your device is checking your sound settings to make sure sound is played via the correct output. We will be using the WH-1000XM4 Wireless Headphones in this example.
- Click the [Settings] from the taskbar or from the [Start] menu.
- Select [System] then click [Sound]
- Make sure that [WH-1000XM4] is being selected as the device under both sound Output and Input.
In the following example, we will be pairing the WH-1000XM4 Bluetooth wireless headphones.
- Click the [Start] button and select [Settings].
- Select [Devices].
- In the [Bluetooth & other devices]/[Bluetooth] tab, make sure the [Bluetooth] button is set to [On]. Then click [Add Bluetooth or other device].
- Click [Bluetooth].
- Here: Click [WH-1000XM4] with the headset icon and indication ‘Audio’.
NOTE: In the case of the model WH-1000XM4, it is very important that you click on [WH-1000XM4] and not [LE_WH-1000XM4], which might appear in the list sooner than [WH-1000XM4]. It may take between 30 to 60 seconds for [WH-1000XM4] to appear in the list.
Please note that [LE-WH-1000XM4] no longer appears after upgrading to firmware version 2.0.7 released on 5th November 2020.
- Confirm to complete the pairing and click [Done].
The next step after pairing your device is checking your sound settings to make sure sound is played via the correct output. We will be using the WH-1000XM4 wireless Bluetooth headphones in this example.
- In [Settings] → [Devices] → [Bluetooth & other devices], make sure that the caption below [WH-1000XM4] says ‘Connected voice, music’. If this is the case, the headphones have been paired and connected successfully.
- Click [Sound settings] to set sound output and input (Microphone).
- Choose [WH-1000XM4] as your output device.
- Select [WH-1000XM4] as your input (Microphone) device.
- Make sure that [WH-1000XM4] has been selected as both the output and input device. Then close the Settings.
Attention
- If you are using a Video Conferencing (VC) application and cannot hear any sound, select [Headset (WH-1000XM4 Hands-Free)] as your playback device.
- If sound quality is low when listening to music on your computer through your headphones, switch your Output device to [Headphones (WH-1000XM4 Stereo)].
You can do this either by accessing the Sound settings ([Settings] → [Devices] → [Bluetooth & other devices] →[Sound settings] →[Choose your output device]), or by clicking the speaker icon on the taskbar at the bottom of your screen.
- Click [Start].
- Go to [Control Panel].
- Select [Devices and Printers] (sometimes located under [Hardware and Sound]).
- Under [Devices and Printers], click [Add a device].
- Make sure your Bluetooth headset has been set to 'Pairing Mode'.
- From the list, select the device you want to connect.
In the following example, we are connecting the WH-H900 wireless Bluetooth
headphones, after putting them in pairing mode by pressing the [ON] button for 7 seconds.
- In the [Add a device] window, select the Bluetooth headset you want to connect. You will get a [Connecting to device] notification.
- At this point, your computer might automatically install the required drivers. If this is the case, you will get a notification near the taskbar area. Depending on the model of your headphones or speakers, you might have to enter the pairing code. The default code is 0000.
- Once the device has been added, you will see the following screen:
- When you click on the [Devices and Printers] button, you will see an overview of the devices connected to your laptop/desktop computer. If you double-click on your device, the following options will appear:
- If your headphones are equipped with a microphone, you can choose to use your headphones to:
- Listen to music.
- Forward VoIP Calls to Handsfree.
NOTE: The second option will reduce your sound quality compared to the first option because it favours signal strength over sound quality.
- Finally, right-click on the sound icon in the taskbar to select [Playback devices]. Make sure your headphones are selected as the Default Playback Device.
- If you have successfully put your speakers or headphones into pairing mode, they should appear in the Bluetooth list. Scroll down if you do not immediately see the device you want to connect in the list, as it might be hidden further down in the menu.
In the following example, we will be pairing both the MDR-1000X and the MDR-ZX330BT Bluetooth wireless headphones.
- Select your device in the list (e.g. MDR-ZX330BT) and click the [Pair] button.
- You can pair your laptop/desktop computer with multiple devices. However, you can only play sound from one paired device at a time. You will have to select one device for sound output.
- Check your sound settings in system preferences to enable the correct sound output:
Additional troubleshooting tips
Turn Bluetooth OFF and ON again
Try switching Bluetooth OFF and ON again if you are certain your device is in pairing mode but is not showing in your device list on your computer.
- Click [Start], then click [Device Manager] (The window in the screenshot below will pop up).
- Look for all Bluetooth listings by opening the [Network Adapters category] and/or the [Bluetooth Radios category] (if available).
- Check if the driver has a yellow exclamation mark or a down arrow symbol:
- Exclamation mark: Update or reinstall your computer’s Bluetooth drivers.
- Down arrow: Bluetooth is disabled: Right-click and enable to activate Bluetooth.
Turn OFF Airplane mode (Windows 10)
- Go to [Start].
- Select [Settings].
- Go to [Network & Internet].
- Change the option [Airplane Mode] to [OFF].
Please accept Youtube cookies to watch this video
Access your cookie preferences below and make sure to switch on the Youtube cookie under the 'Functional' section.
Related Articles
Register your product
Get access to all information, keep your product up to date and enjoy great deals
Sony Community
Visit our Community and share your experiences and solutions with other Sony customers
Contact support
Contact your Sony Support team
Repair & Warranty
Book, track or maybe even avoid a repair