
Top Tips: Macro Photography in Spring
Insects Move Slowly
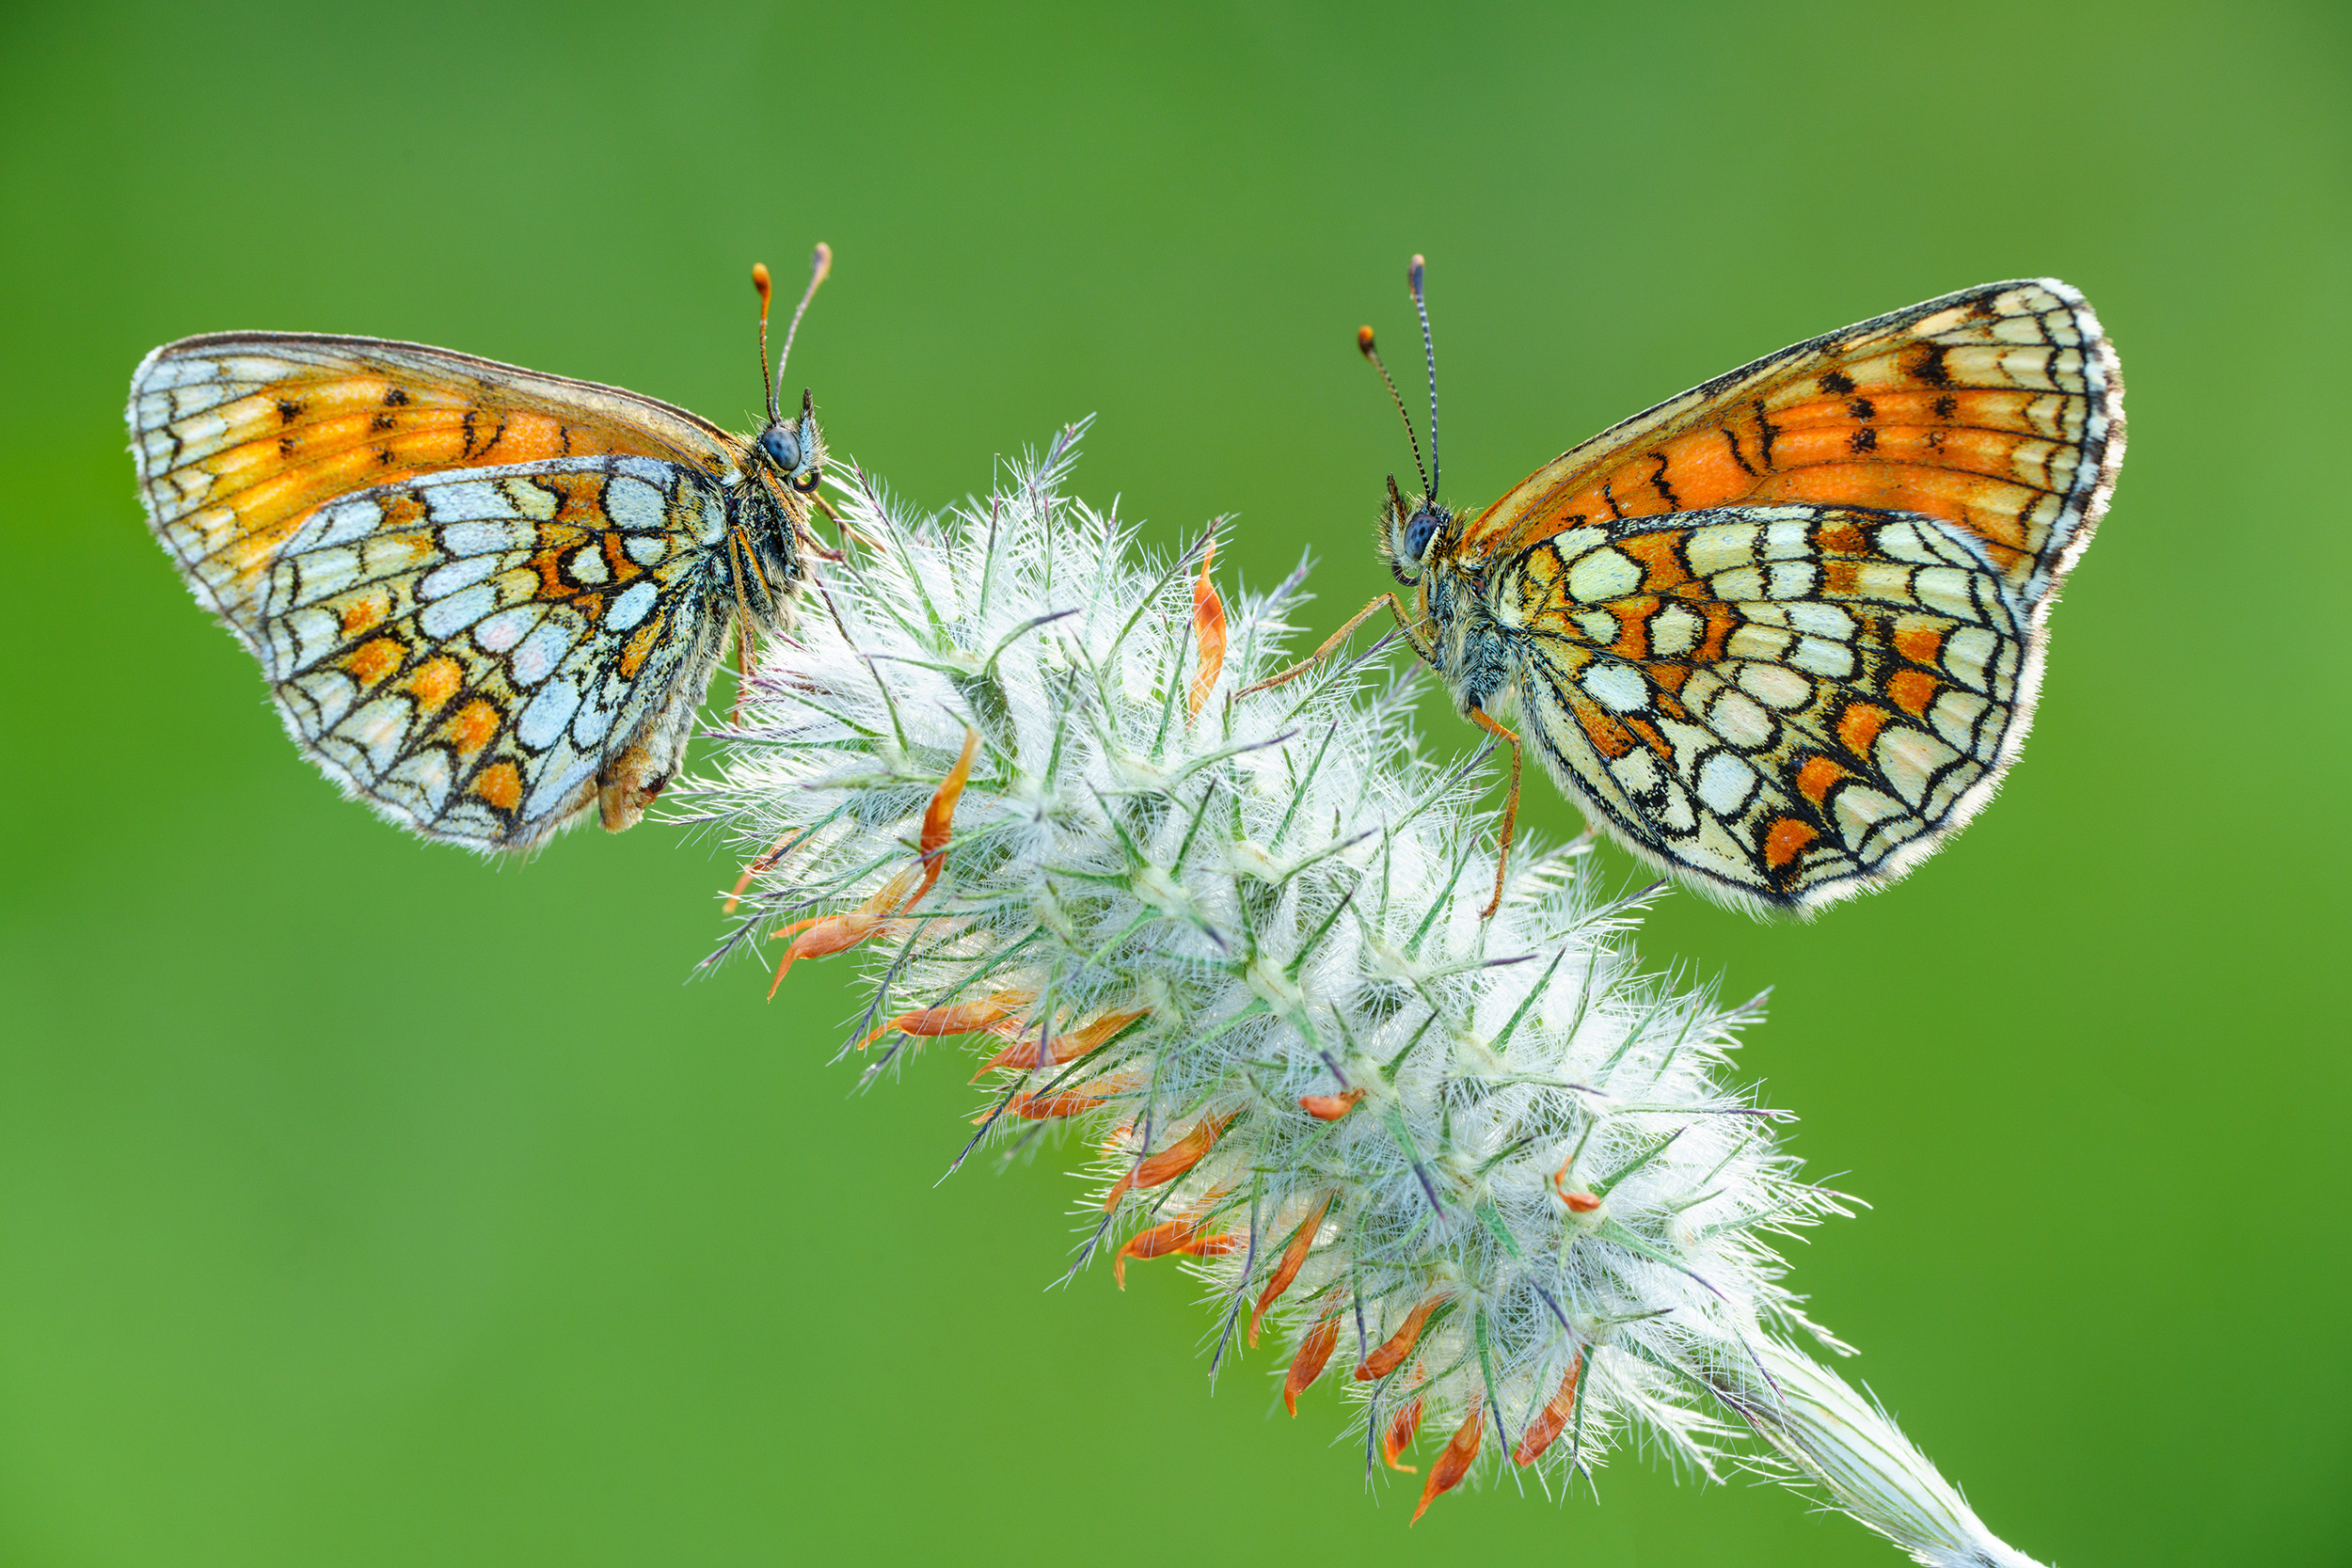
Like landscape photography, sunrise offers ideal conditions for insect macro photography. As the sun rises, insects bask in a warm sunlit spot and heat themselves until they are warm enough. During this time, insects will move and react slowly, enabling you to get closer without startling them.
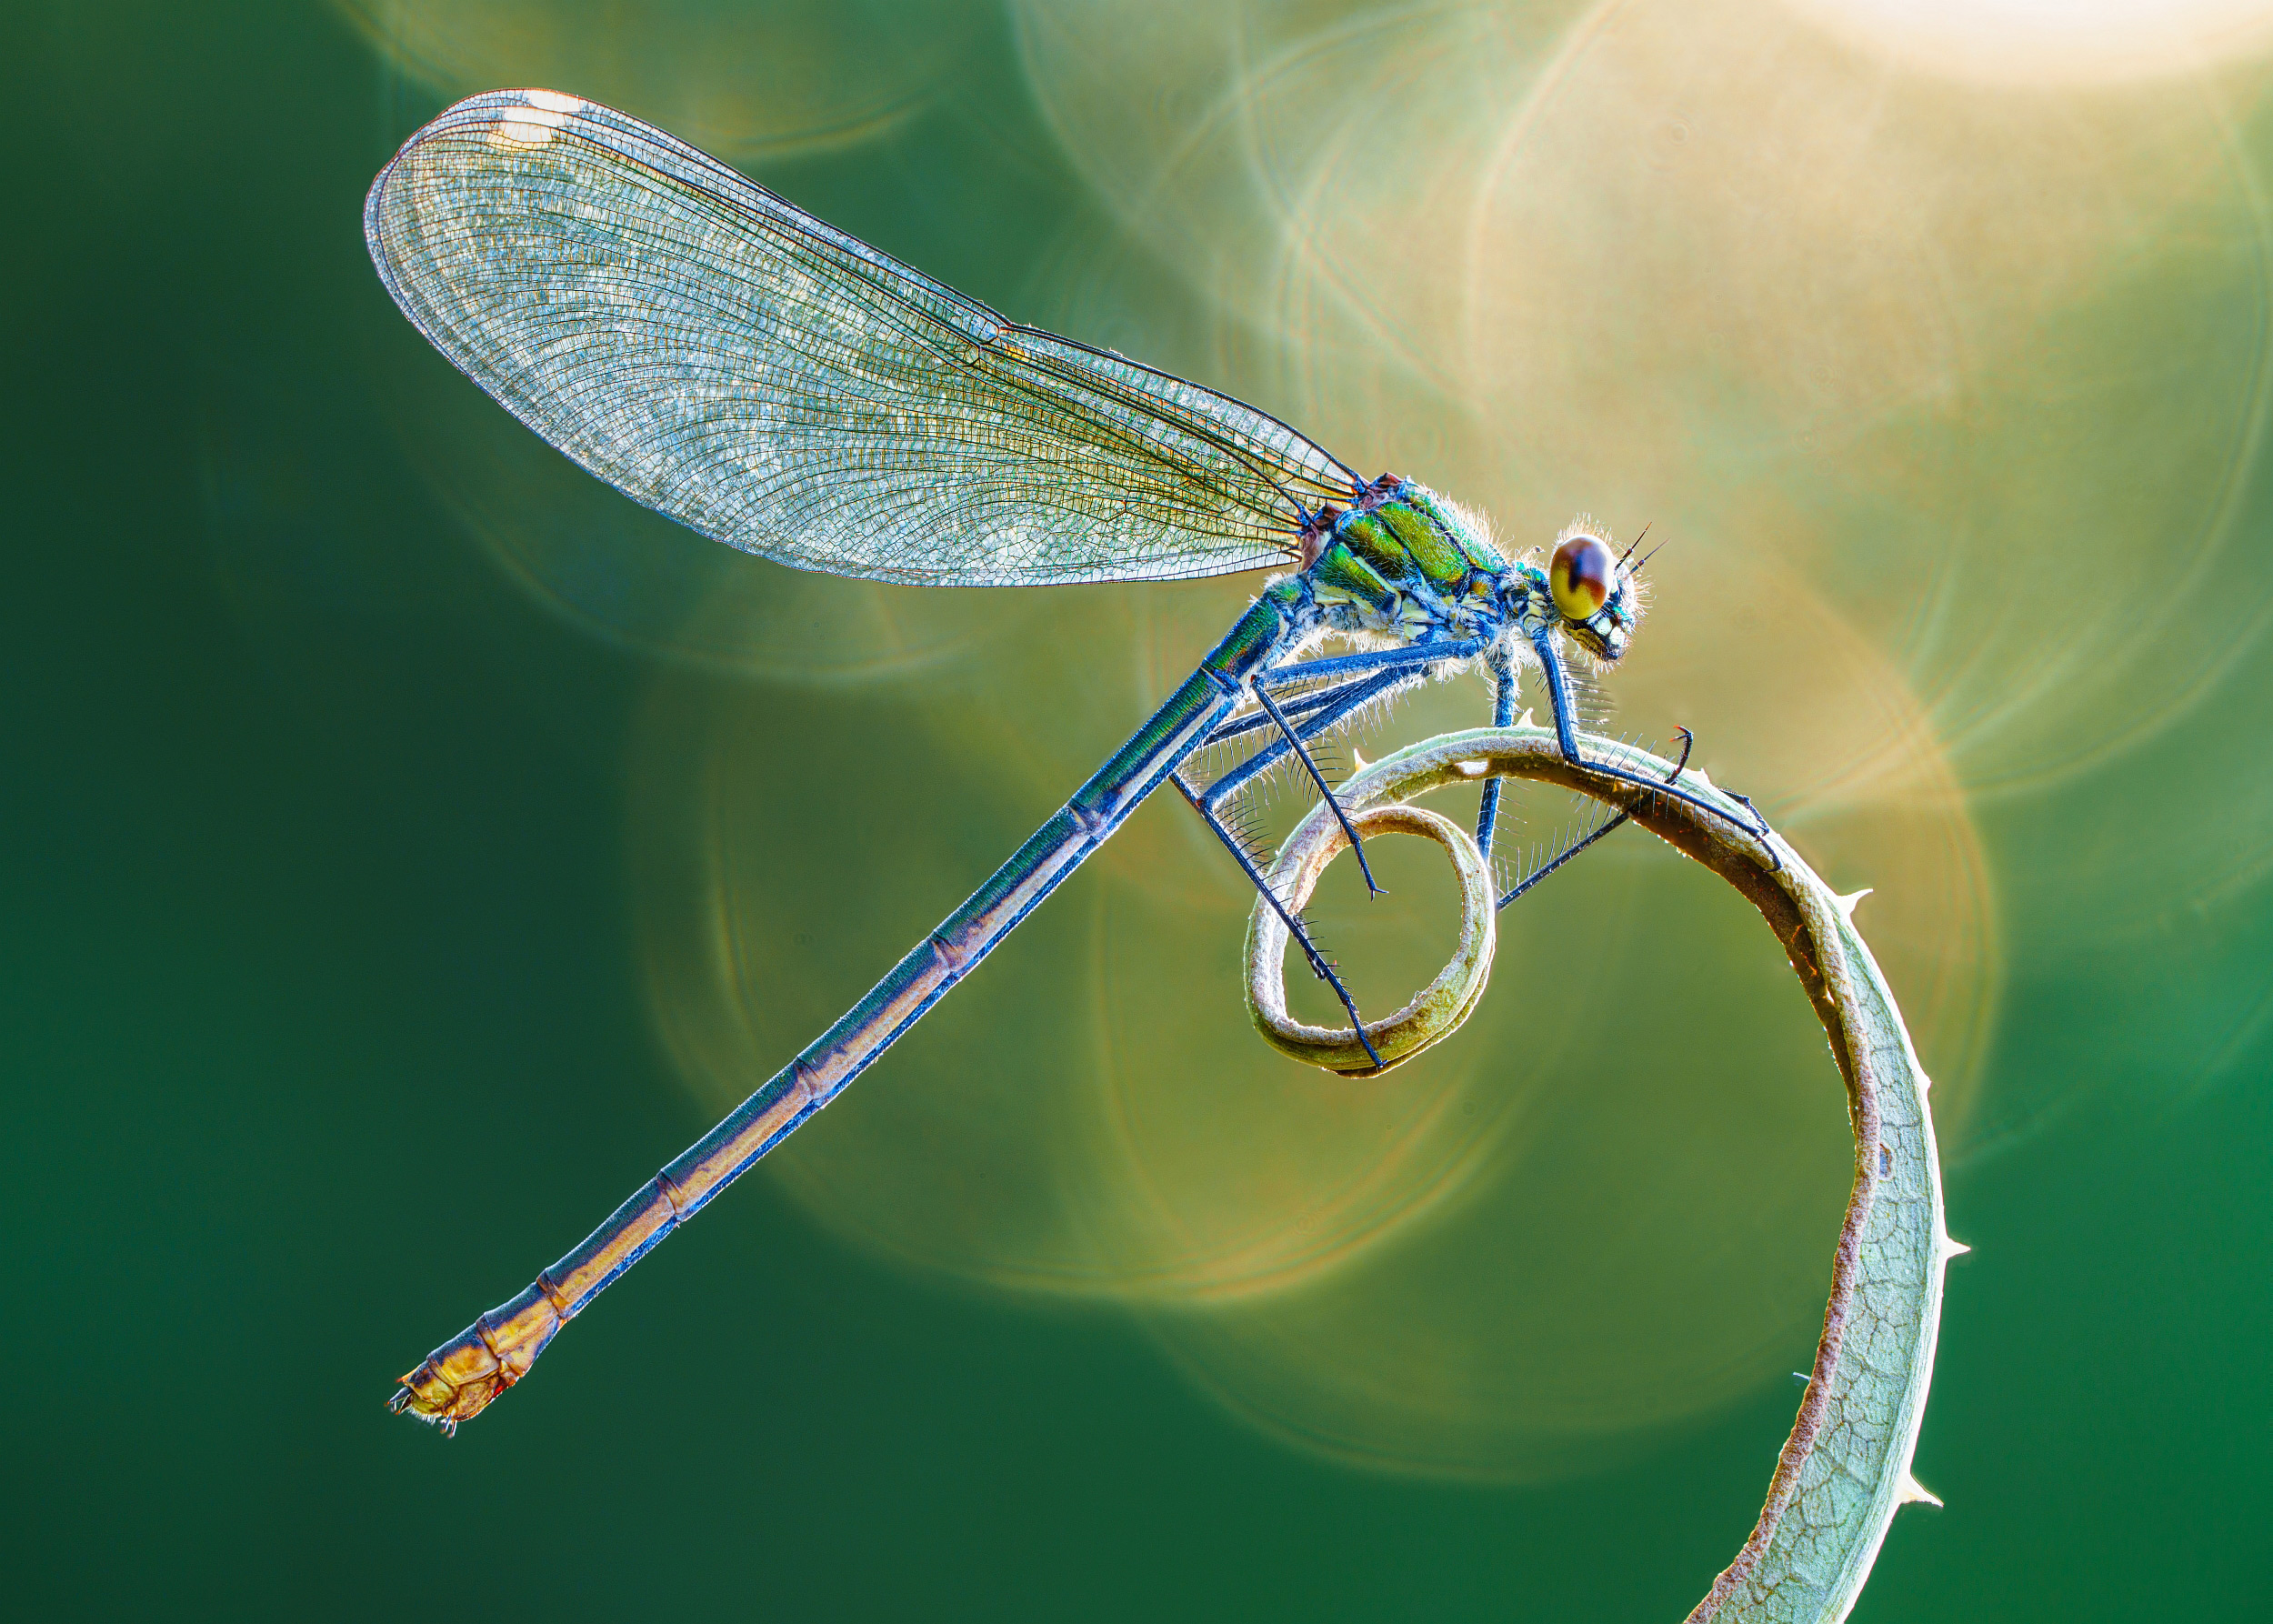 © Petar Sabol | Sony α7R V + FE 70-200mm f/4 Macro G OSS II + 2x Teleconverter | 1/5s @ f/10, ISO 250
Lens Choice and Minimum focus distance
The Sony E-mount line-up offers some exception macro lens options, with the pinnacle being the FE 90mm f/2.8 Macro G OSS lens with a minimum focus distance of 28cm. Remember that the minimum focus distance is measured from the sensor to the subject, so the actual working distance is measured from the end of the lens to the closest focus point. For the 90mm f/2.8 lens, this is around 13cm. You want to remain a reasonable distance from subjects such as insects so that you don’t scare them away; therefore, longer distances are better in insect macro photography.
 © Albert Dros | Sony α7R V + FE 90mm f/2.8 Macro G OSS | 1/80s @ f/2.8, ISO 400
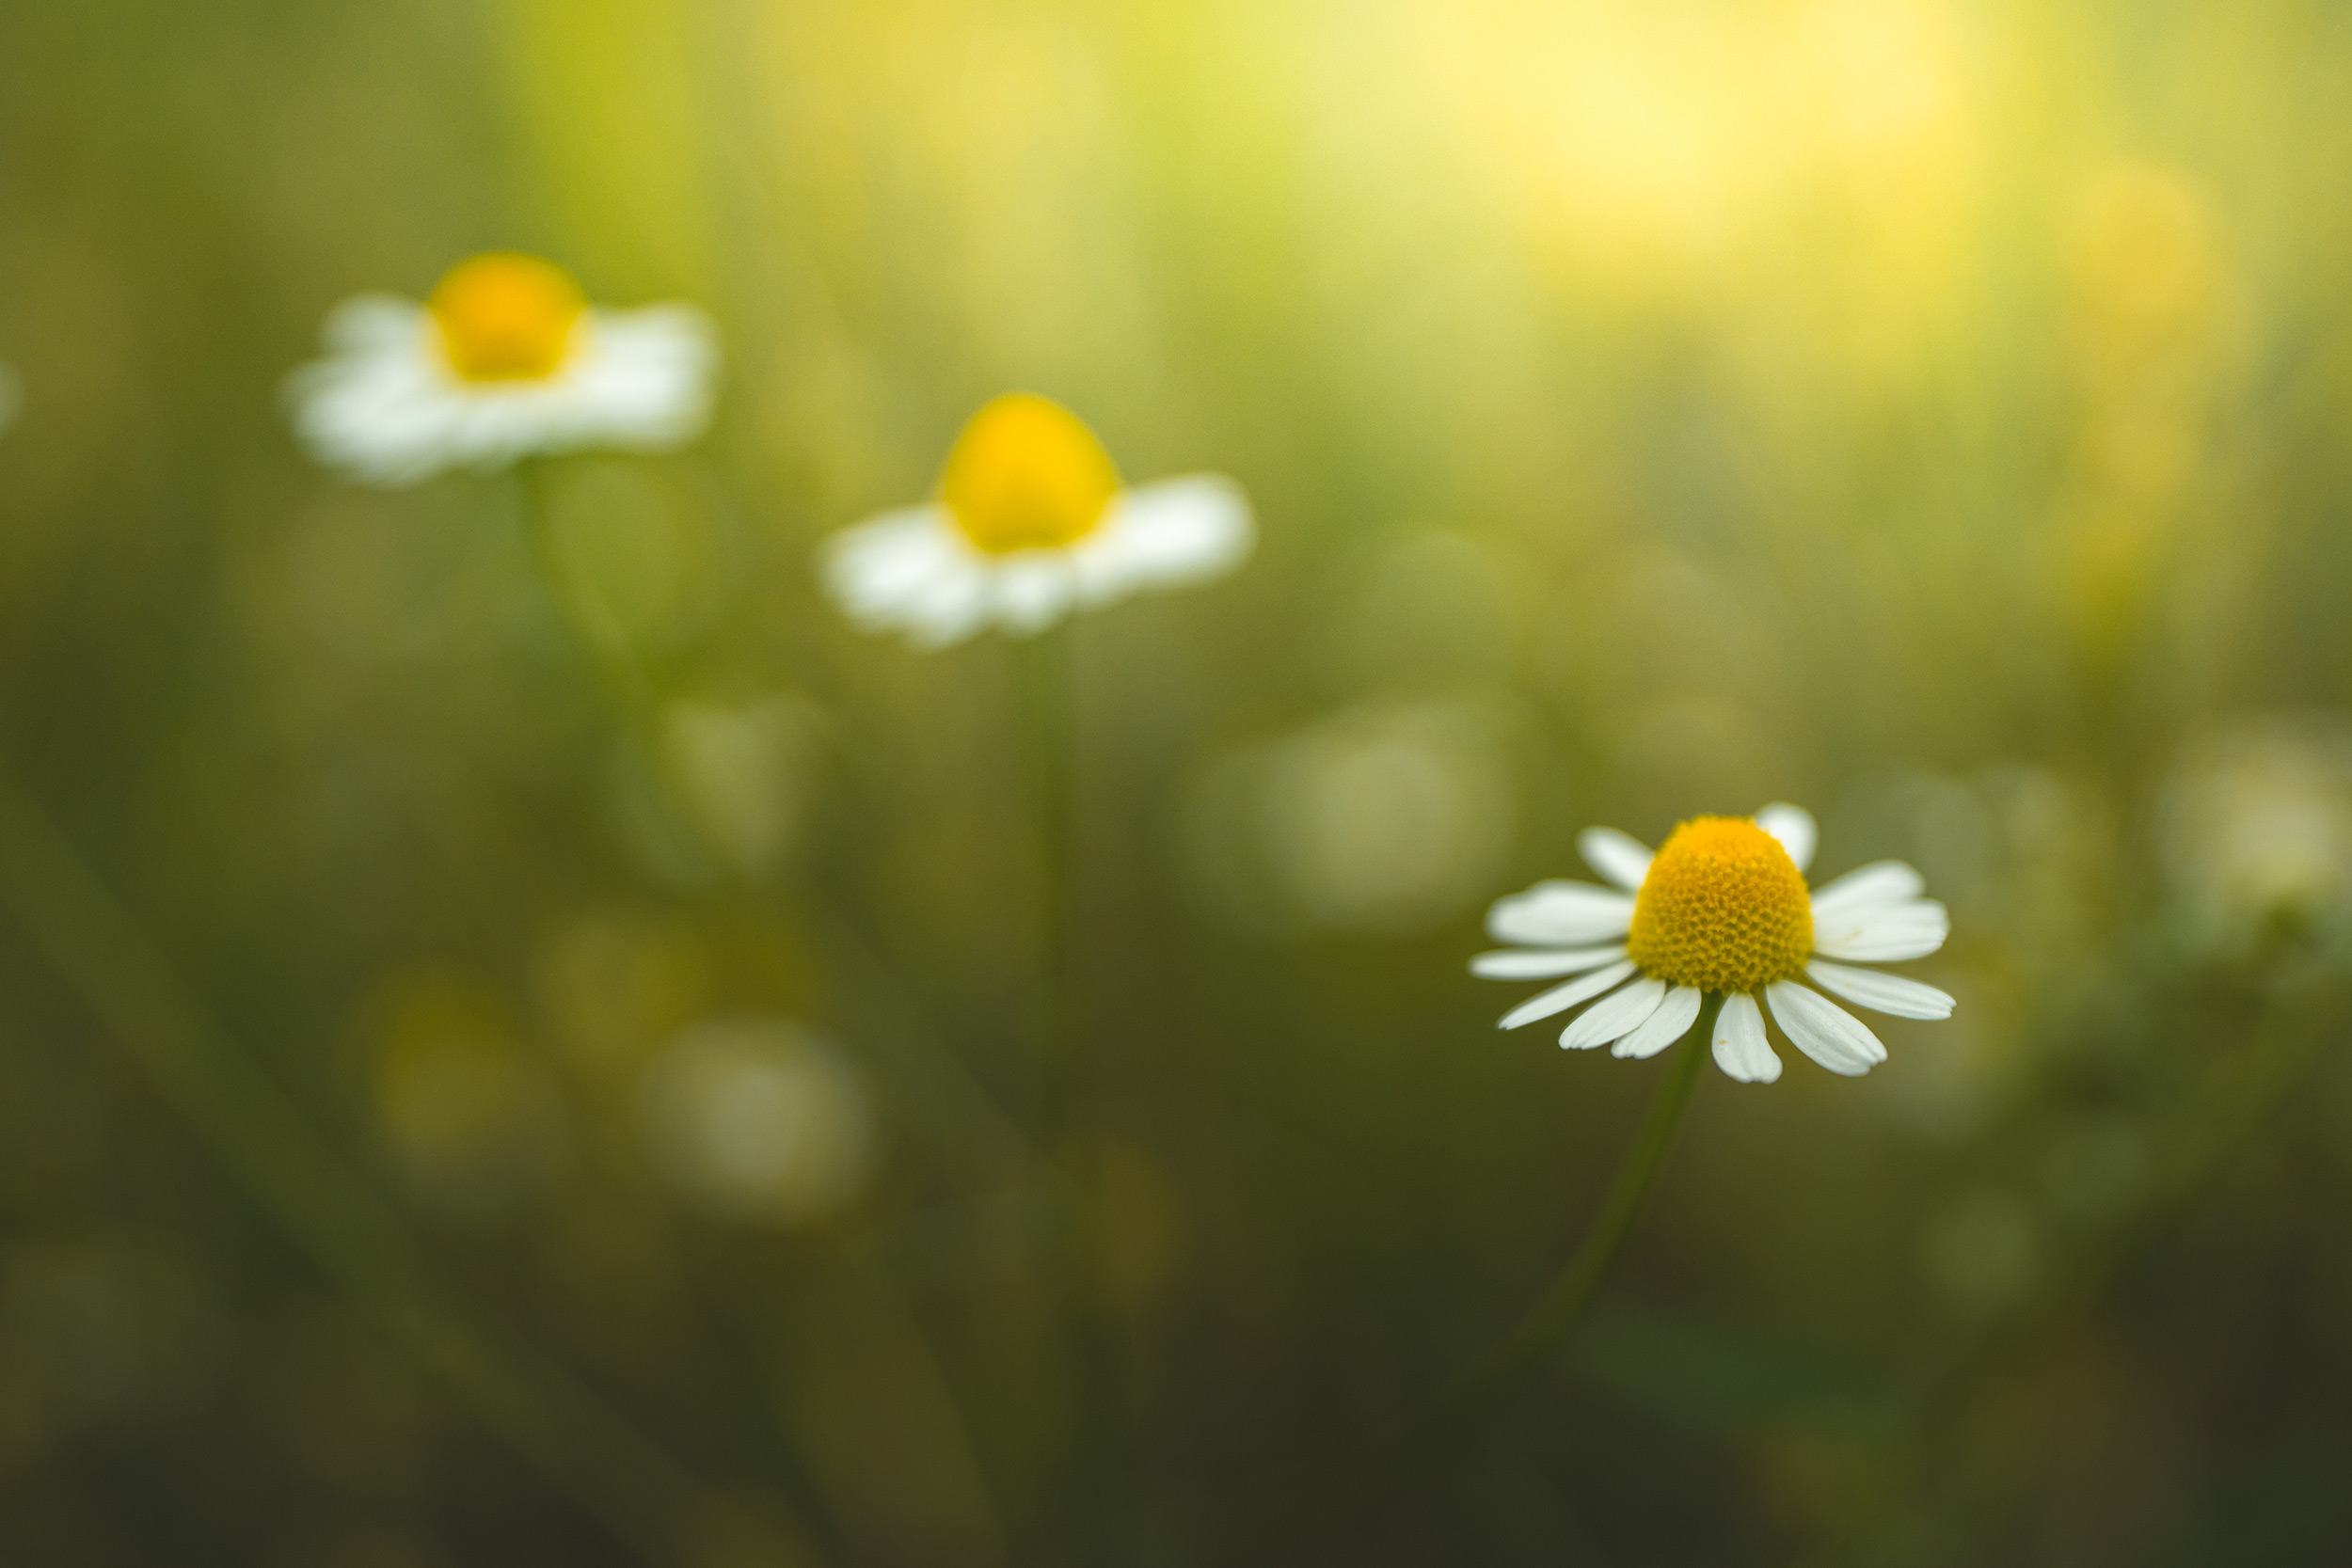
An alternative lens is the FE 50mm f/2.8 Macro lens. This has a minimum focus distance of 16cm and a working distance of nearer 8cm. Finally, for Sony cameras with an APS-C size sensor, there is the very affordable E 30mm f/3.5 Macro lens. It offers 1:1 macro with a 9.5cm minimum focus distance, equating to a working distance of around 3cm, so making it great for subjects such as flowers. There is also the FE 70-200mm f/4 Macro G OSS II which offers an extended working distance thanks to its longer focal length, and when combined with a 2x Teleconverter, gives a 1:1 reproduction ratio at 400mm.
 © Javier Aznar | Sony α7R IV + FE 50mm f/2.8 Macro | 1/100s @ f/13, ISO 320
APS-C sensors and crop
Remember, you can use the full-frame FE lenses on the APS-C sensor cameras, such as the Alpha 6700, and take advantage of the 1.5x equivalent field of view to get an even closer view of your subject. Or, if you have a full-frame camera, like the Alpha 7 IV, you can use the APS-C mode to crop and frame the image in-camera.
Focus Limiter
Sony FE macro lenses feature a Focus Limiter switch, restricting the distance the lens will focus to the closest distances to the camera. Limiting the lens in this way can prevent the camera from focusing on a distant subject and make it quick to find focus initially. This is incredibly useful when focusing on a specific, subject like a single flower, as you can prevent the lens from shifting the focus to a distant background if the flower blows in a breeze.
 © Kyle van Bavel | Sony α7 III + FE 90mm f/2.8 Macro G OSS | 1/160s @ f/5.0, ISO 100
Continuous Focus and Subject Movement
Small shifts in movement can make a big difference in focusing when using a macro lens. It is always best to use a tripod to keep the camera steady, but there is always a chance your subject will move. Initially, if you photograph plants or an insect on a plant, wait for any breeze to stop. However, it is also worth employing Continuous Focus with Subject Tracking, as this enables the camera to and lens to continually adjust to the slightest of movements, keeping your subject in focus.
 © Albert Dros | Sony α7R V + FE 16-35m f/2.8 GM II | 1/1600s @ f/2.8, ISO 400
Focus Tips
Touch Focus on the rear screen is a great way to set the focus area quickly, but if you want to photograph pollen or a particular part of an insect, enable the Focus Magnifier. By setting it to a Custom Button, you can instantly focus manually with extreme precision.
 © Petar Sabol | Sony α7R V + FE 70-200mm f/4 Macro G OSS II + 2x Teleconverter | 1/15s @ f/13, ISO 400
Focus Bracketing
In macro photography, it can be challenging to get everything you want in focus, even when shooting at an aperture of f/16. Newer Sony cameras, including the Alpha 7R V, Alpha 7 IV (from firmware 4.0) and the Alpha 6700, all feature Focus Bracketing, which captures a series of images at varying focus distances. You can then combine your images to create a focus stack using third-party software. Focus Bracketing can be accessed on the Drive Mode Menu.
 © Albert Dros | Sony α7R IV + FE 90mm f/2.8 Macro G OSS | 1/500s @ f/2.8, ISO 400
Within the Focus Bracketing Menu, select the Step Width, which is the strength of the shift in focus between each image and the number of images. There are more settings in the sub-menu, including Exposure Smoothing, which, when turned ‘ON’, changes the exposure for each shot, if needed. This is helpful when taking lots of shots over a long period and you suspect the light may change.
 © Albert Dros | Sony α1 II + FE 90mm f/2.8 Macro G OSS | 1/200s @ f/6.3, ISO 3200
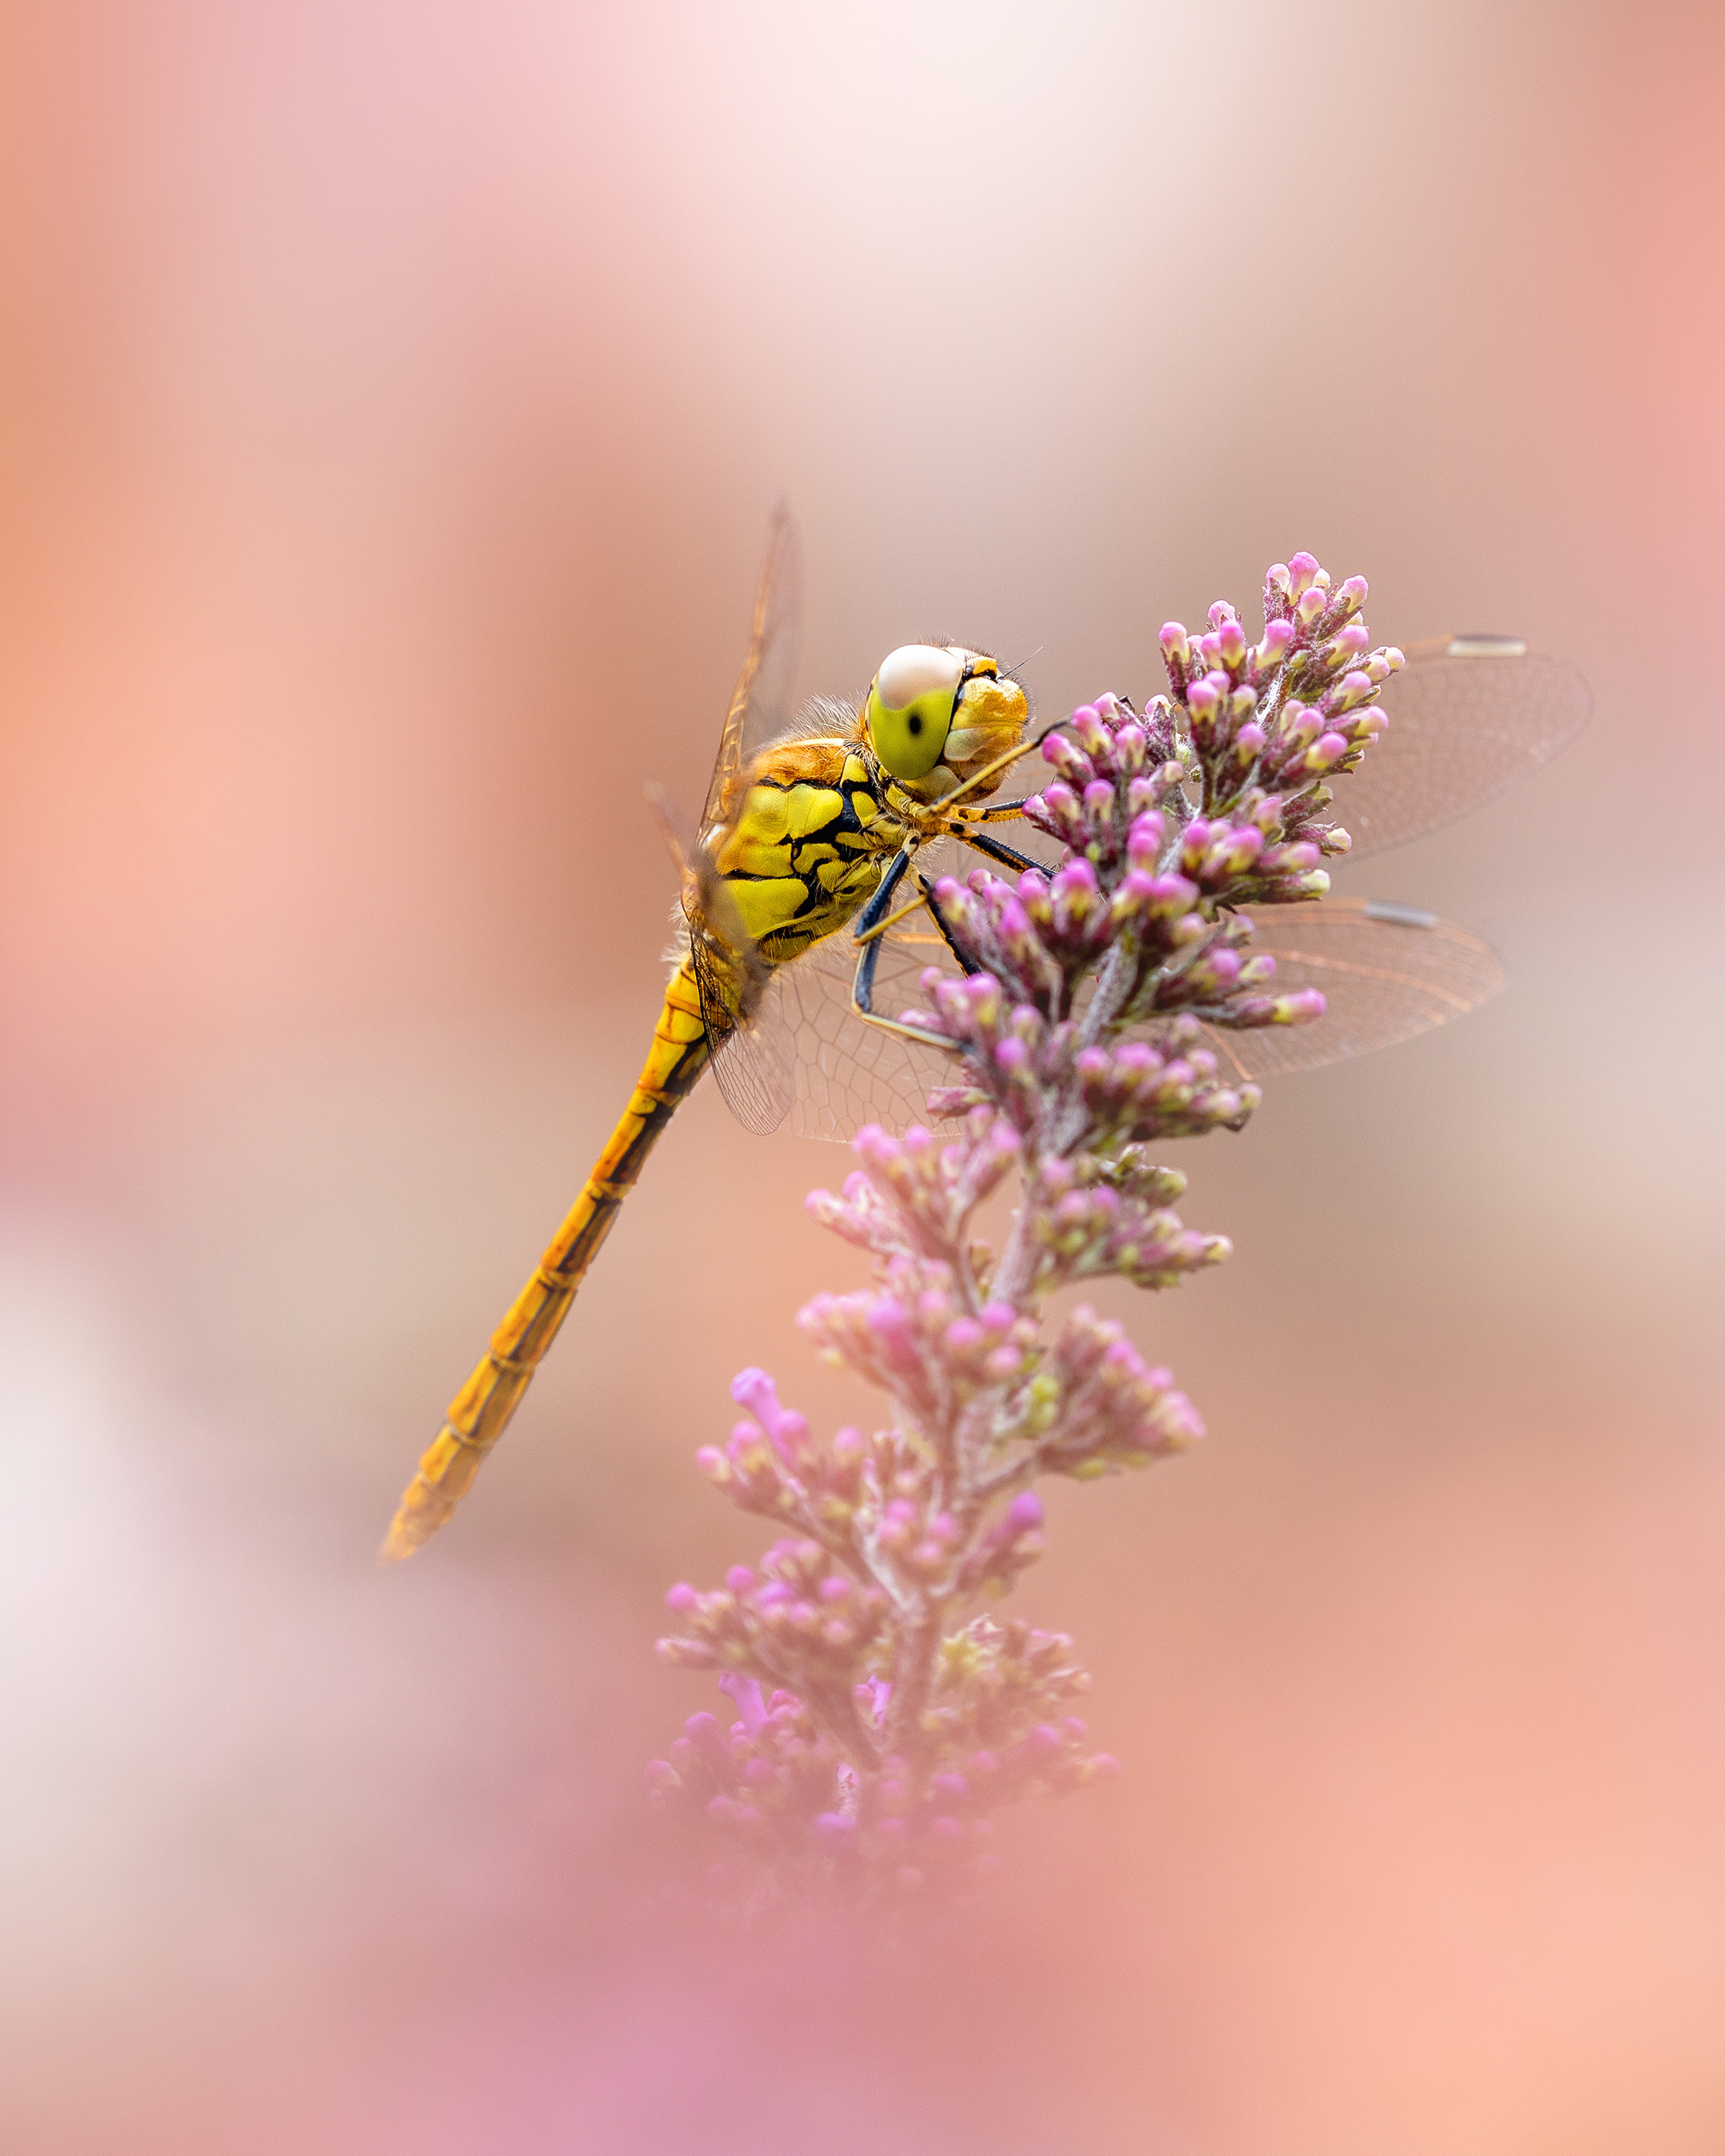
Capturing colour
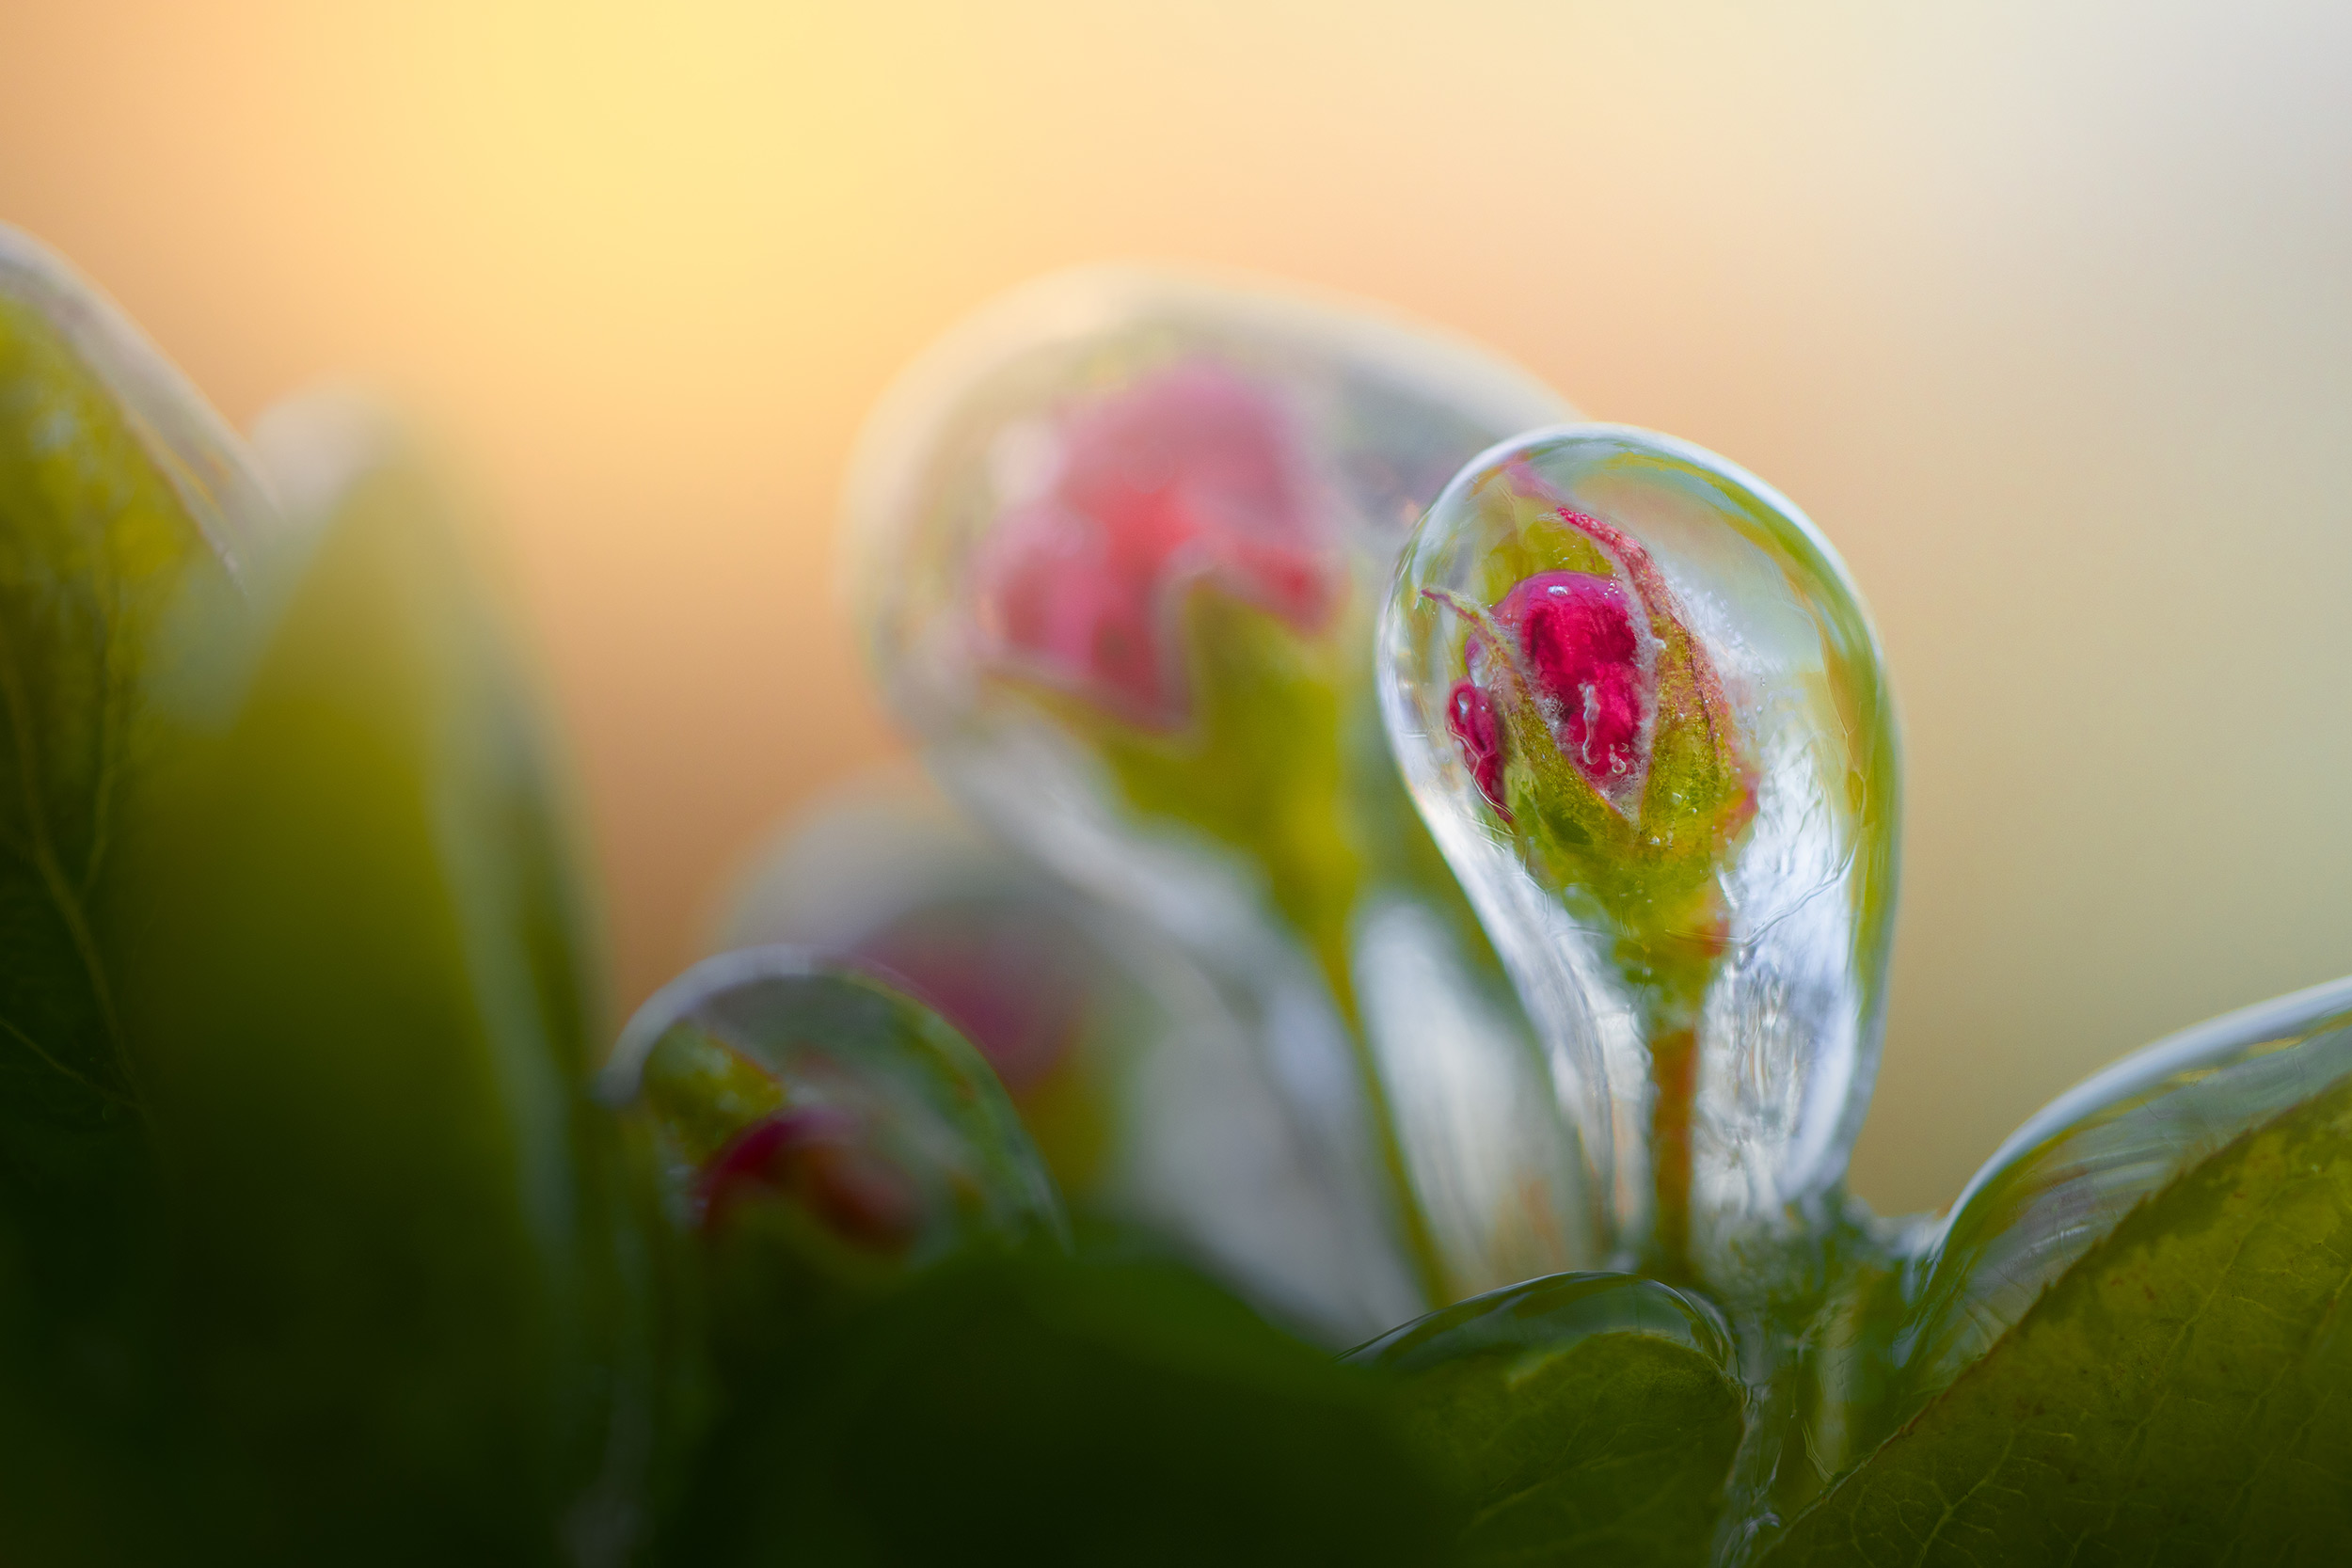
Spring brings vibrant coloured flowers, a subject matter that is high on the list for most photographers, and it is worth considering how to capture these colours at their best. Firstly, a polariser filter can significantly reduce reflections and glare, particularly from early morning dew. Also, slightly underexposing the image allows you to capture all the possible colour without it saturating completely. Finally, saving your images as raw files, means you can edit the colour precisely on your computer. If you want a quick image to share on social media via Creators Cloud, try using one of the VV or VV2 in-camera Creative Styles.
Summary
- Best Time for Macro Photography: Spring is a great time for macro photography due to the emergence of insects and flowers.
- Insect Photography Tips: Photograph insects during sunrise when they are less active and easier to photograph.
- Lens Recommendations: Sony offers a range of macro lenses, each with different minimum focus distances suitable for various subjects. Like the FE 90mm f/2.8 Macro G OSS, FE 50mm f/2.8 Macro, FE 70-200mm f/4 Macro G OSS II and E 30mm f/3.5 Macro
- Lens Compatibility: Full-frame FE lenses can be used on APS-C sensor cameras, providing a 1.5x equivalent field of view for even closer shots.
- Focus Limiter: Sony FE macro lenses have a Focus Limiter switch to restrict focusing distance, preventing unwanted background focus.
- Continuous AF: Use a tripod, Continuous Focus with Subject Tracking to account for tiny movements.
- Focus Bracketing: Sony cameras like Alpha 7R V, Alpha 7 IV (Firmware 4.0), and Alpha 6700 can use Focus Bracketing to create focus stacks.
- Capturing Vibrant Colours: Using a polarising filter, slightly underexposing, and saving images as raw files can enhance colour capture, ready for editing.


