
Top Tips: Photographing Food
Lighting
Food always looks best under natural light, so set up a table and your camera next to a window. Soft, diffused light usually looks best, so a bright, but overcast day is perfect, or use sheer curtains, blinds or just hang a white sheet over your window on a sunny day.
If you're recreating natural light with studio or flash lights, use large softboxes at an angle. Avoid lighting food directly from above or from the camera, as this light can look harsh and flat. Use reflectors or a piece of white card to bounce light and soften shadows. And if you have translucent items such as colourful sauces, drinks or glass bottles, try using a backlight to make them look dynamic.
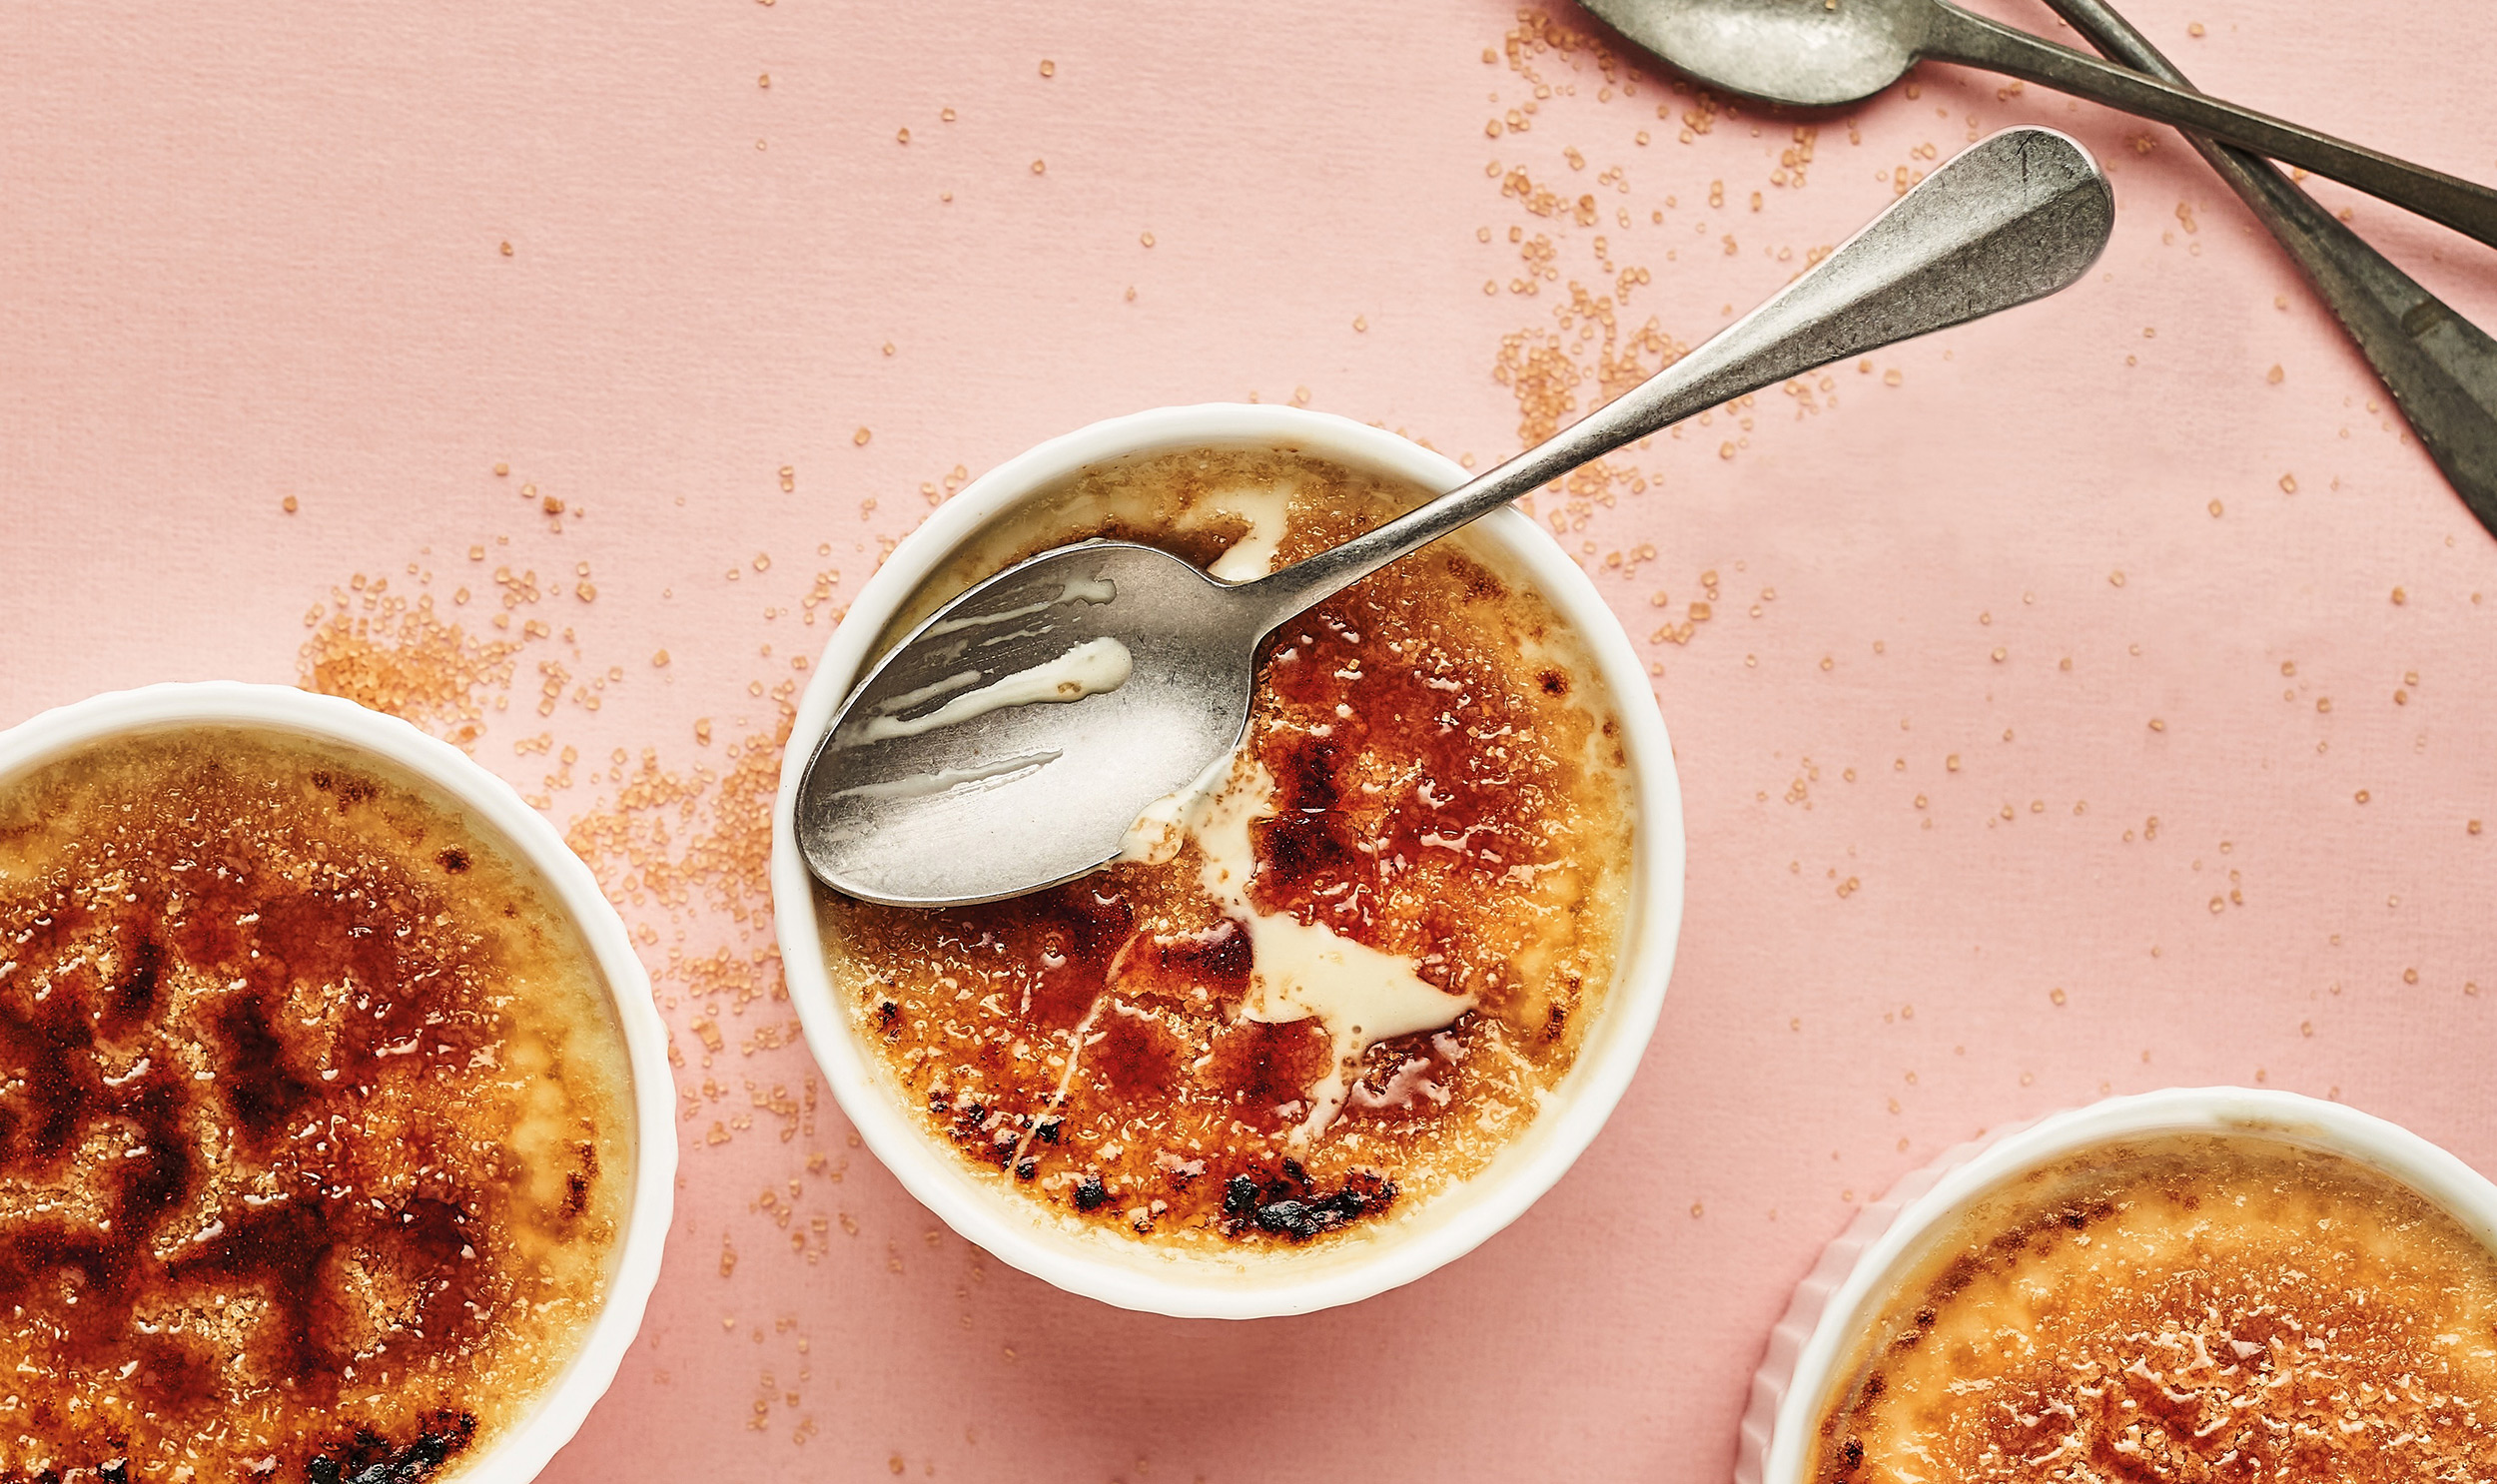
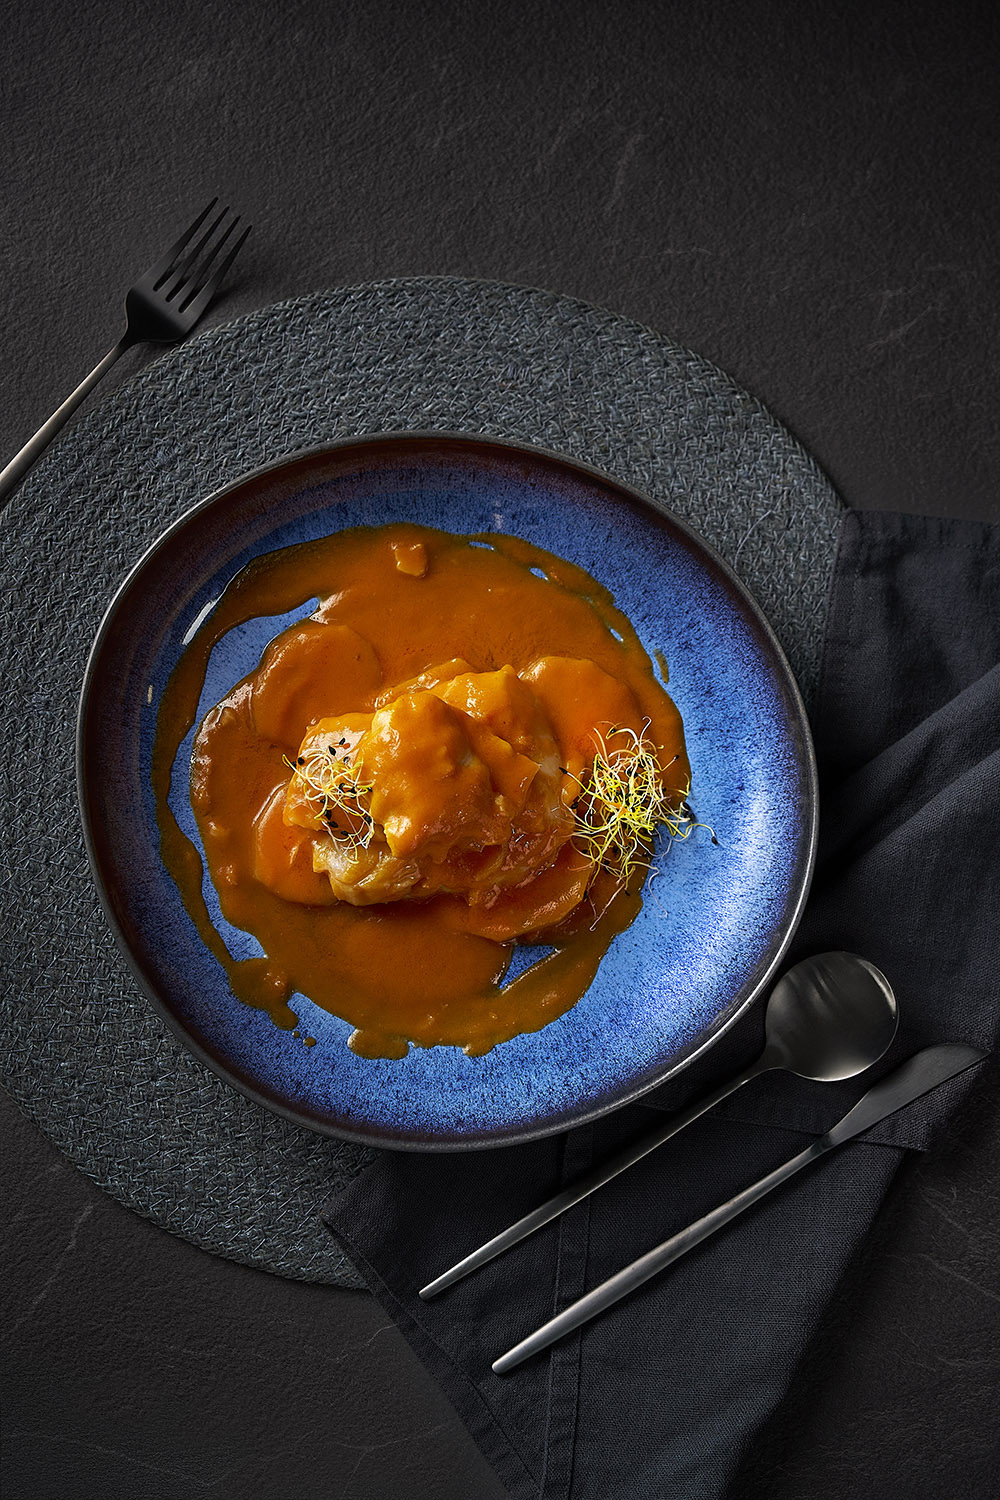 © Pablo Gil | Sony α7R V + FE 90mm f/2.8 Macro G OSS | 1/250s @ f/5.0, ISO 800
Styling and Composition
Commercial food shoots often use fake food and spend hours preparing meals to look perfect under hot studio lights. When shooting real food, freshness is everything - whether it's a salad or a hot meal straight from the oven. Timing and speed are key.
A quick spray with water adds droplets and shine, making fruit and vegetables look fresh. Steam from a kettle or a hidden bowl of hot water can make food look piping hot and appetising.
Items like sea salt, herbs, garnish and sauces can be strategically placed to add texture and balance. But don't forget the presentation! Contrast or complement the meal with the colour and style of plates and surfaces. A wooden table adds a rustic feel, a black tablecloth makes colours pop for a modern look, and a white plate on a white marble surface creates a clean, minimalist look. How you present your food tells a considerable part of the story and helps conjure the mood you want the viewer to feel; is the food warm and comforting, or is it a luxurious work of art?
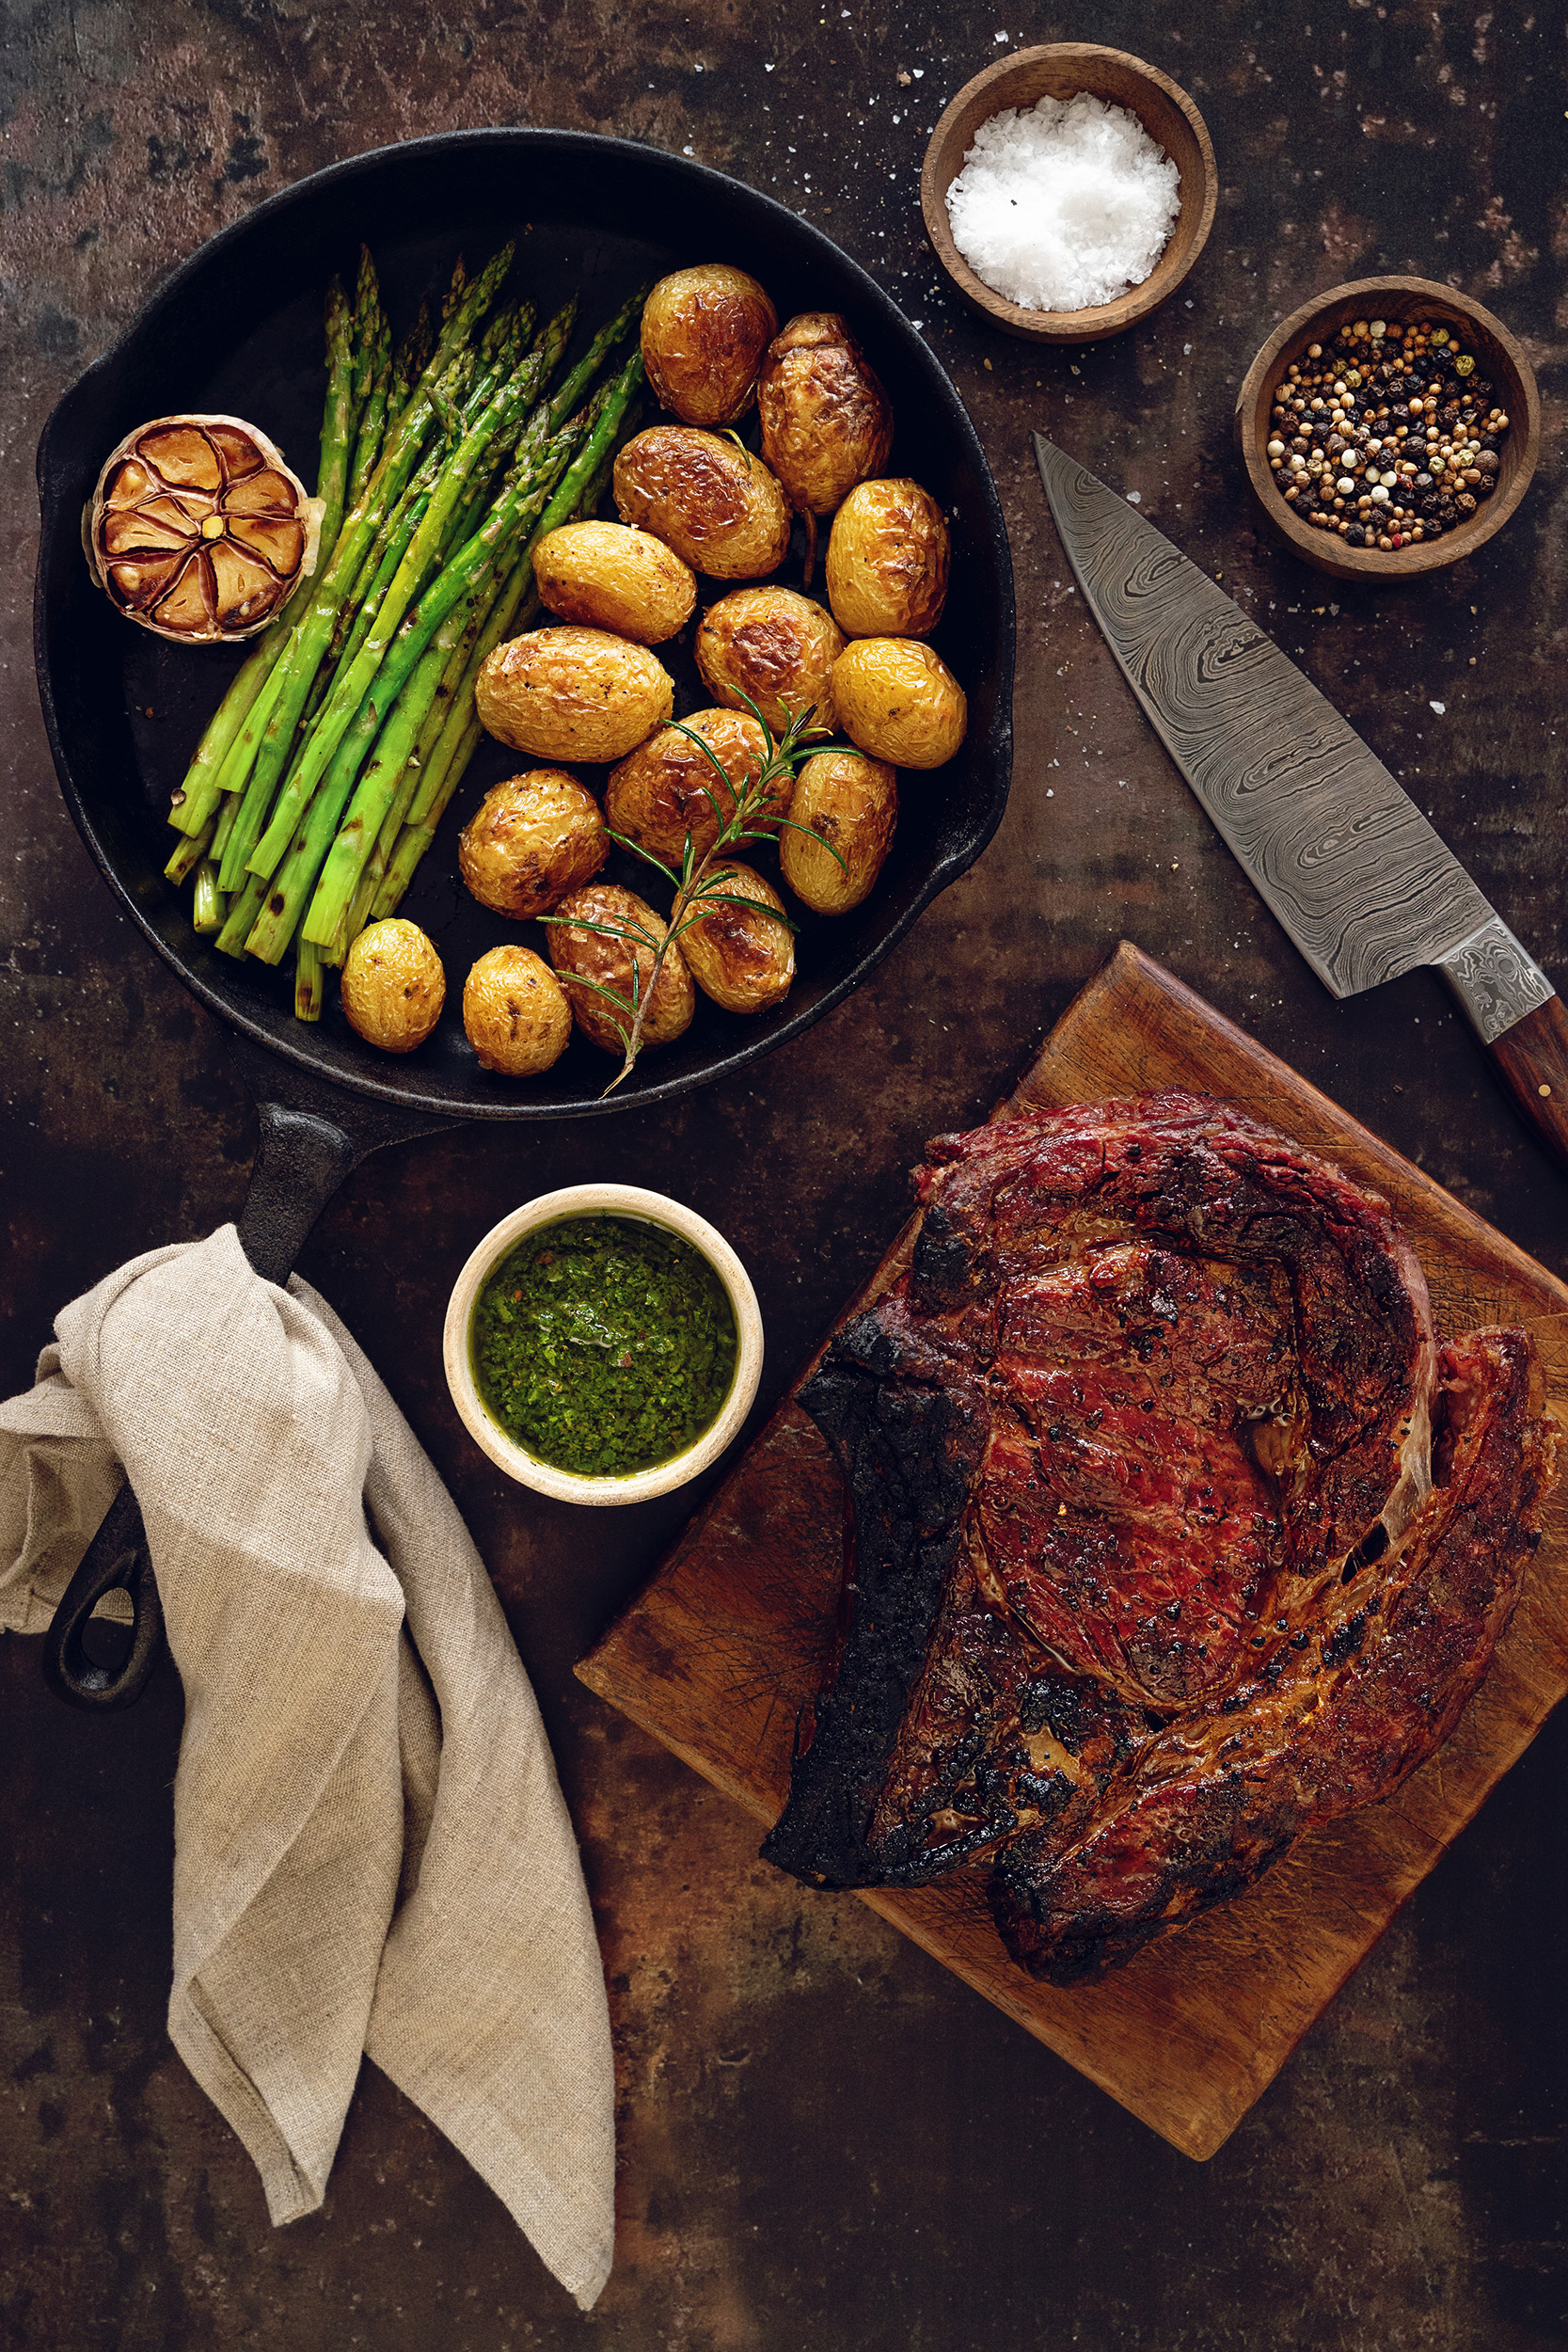 © Kate Kirkman | Sony α9 II + FE 50mm f/1.4 GM | 1/25s @ f/7.1, ISO 800
Lenses
There are some great Sony lenses for food photography, especially the range of macro lenses such as the FE 90mm f/2.8 Macro G OSS or FE 100mm f/2.8 Macro GM OSS. APS-C sensor camera users, such as the Alpha 6700, can use the E 30mm f/3.5 Macro, and the FE 50mm f/2.8 Macro is great for APS-C users and full-frame users looking for an affordable entry point.
For general shots, the FE 24-70mm f/2.8 GM II offers flexibility to shoot from a comfortable distance and capture a range of shots - from isolated individual plates to wide shots with blurred backgrounds that add context to the meal.
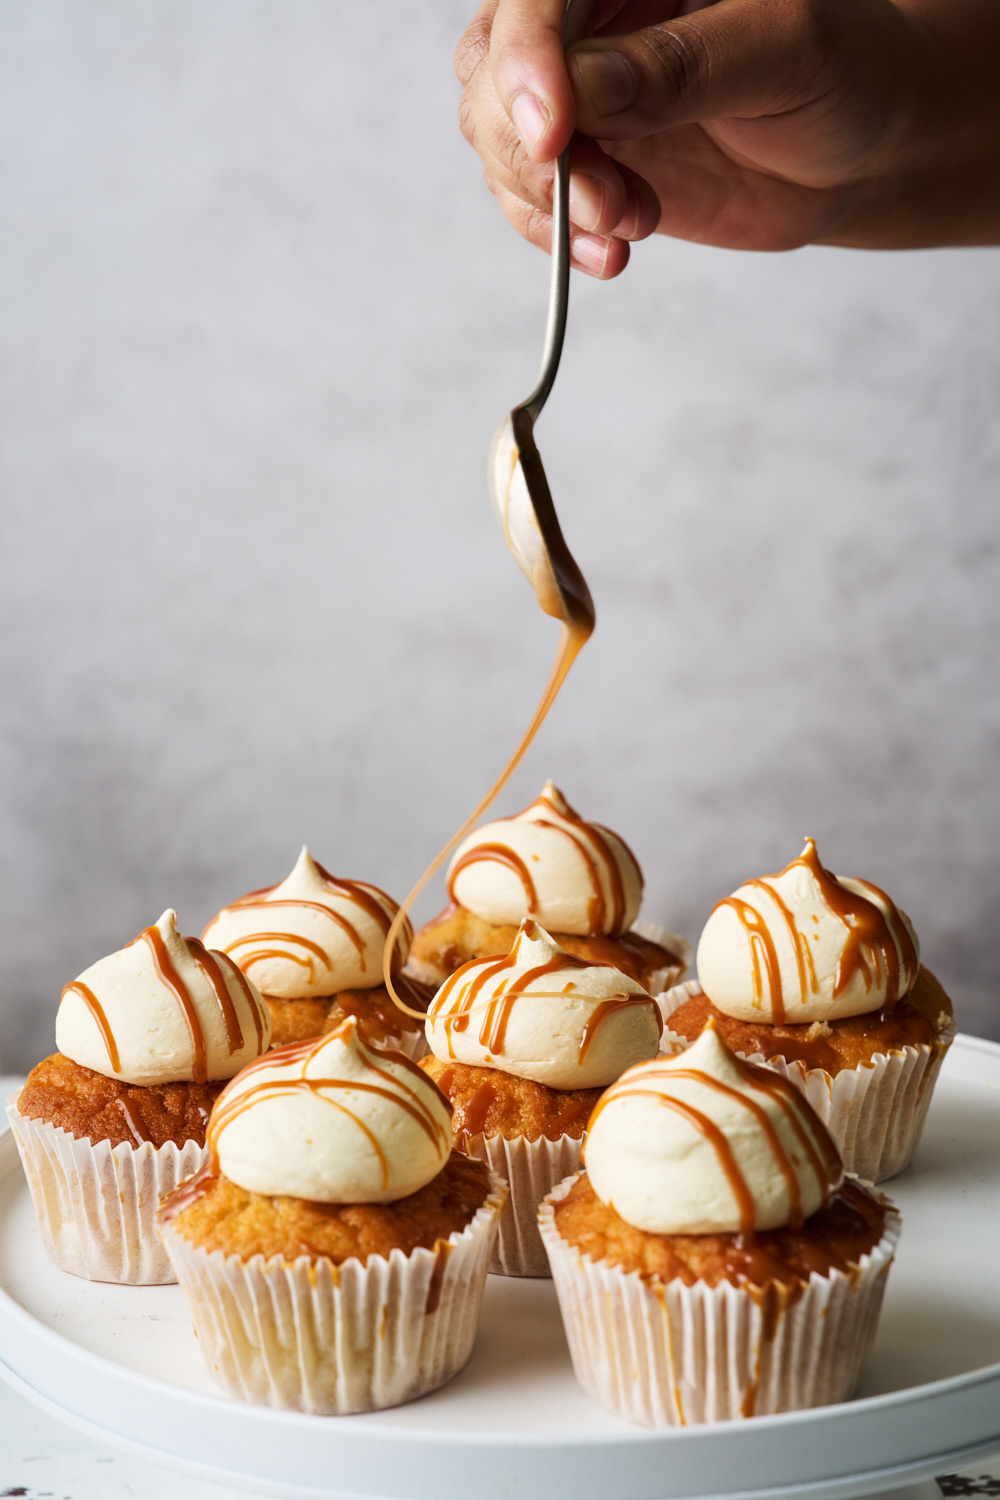 © Marleen Visser | Sony α7 IV + FE 24-70mm f/2.8 GM II | 1/200s @ f/8.0, ISO 100
Exposure and Depth of Field
For the sharpest images that show fine detail and texture, use a tripod. This also lets you experiment with exposure. Small apertures like f/16 keep as much of the food in focus as possible, whilst large apertures like f/2.8 or f/1.4 create a shallow depth of field that highlights certain elements and blurs the background. Keep ISO as low as possible and use Aperture Priority mode to experiment with depth of field, letting the camera decide the shutter speed. Adjust exposure by using the Exposure Compensation (+/-) if needed.
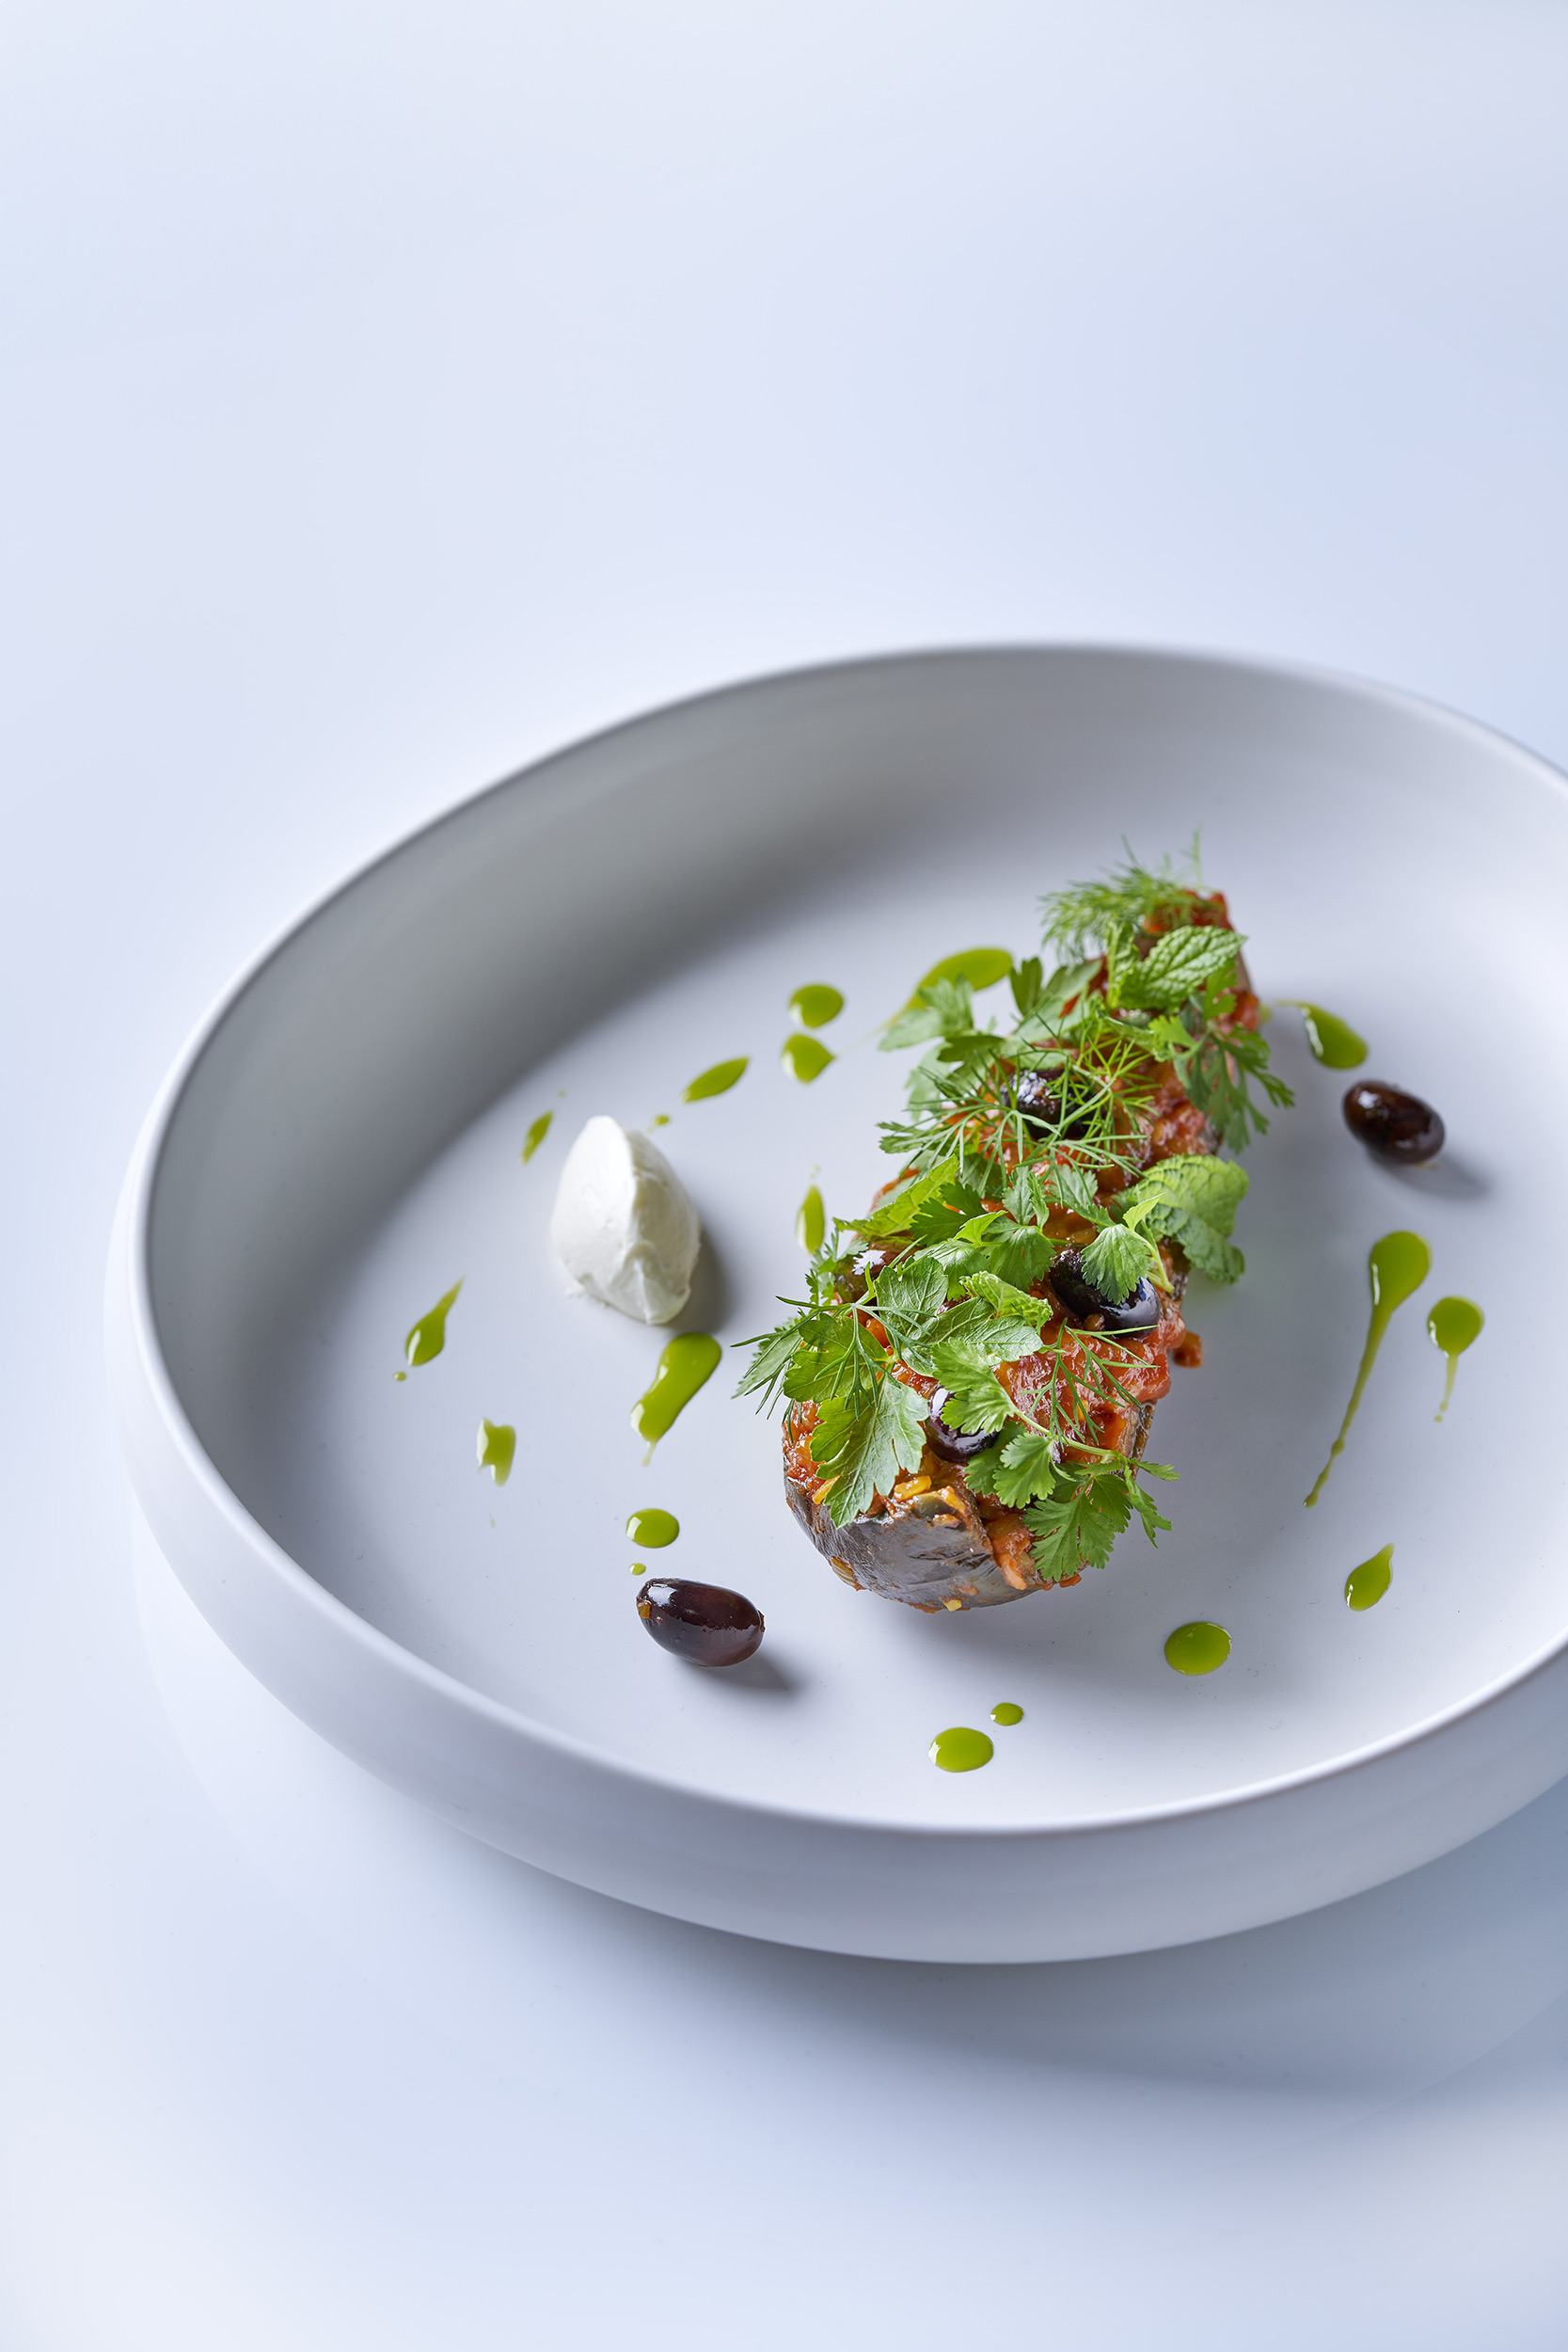 © Pablo Gil | Sony α7R V + FE 90mm f/2.8 Macro G OSS | 1/250s @ f/5.6, ISO 100
White Balance
Accurate colour is vital, so set a custom white balance. Go to Exposure/Colour > White Balance > White Balance > Custom. Choose a Custom setting and go to SET. Place a white balance tool or grey card under the same light as your food, making sure it covers the centre square displayed, then press the Centre button. This captures a custom balance reading you can use for your photos.
 © Marleen Visser | Sony α7 III + FE 50mm f/1.8 | 1/200s @ f/5.6, ISO 100
Focusing
The easiest way to focus is using your Sony camera's touchscreen - simply touch the item you want in focus. For absolute perfection, switch to Manual Focus and use the Focus Magnifier (usually the AF-ON button by default) to punch-in and focus with precision.
To get an entire meal in sharp focus, try Focus Stacking, available on the Alpha 7R V, Alpha 7 V, Alpha 7 IV, Alpha 6700, and Alpha 1. Go to Drive Mode > Focus Bracket. Set the Step Width between 1-4 for close-up macro shots, or 5-10 for shots that aren't as close. Choose the number of images - 10 is a good starting point. With your camera on a tripod, focus on the closest part of the meal, then fire the shutter. The camera will take 10 shots, shifting focus between each one. Stack all the images into a single shot using editing software.
 © Marleen Visser | Sony α7 III + FE 50mm f/1.8 | 1/200s @ f/5.0, ISO 100
Editing
Professional food photographers will get each image as perfect as possible in-camera, but there is still a lot of work to be done in editing. Stray crumbs or a grain of black pepper on a white tablecloth can be easily edited out of the image. Images, or even just part of an image, might be sharpened or locally contrasted to reveal textures. And then the colours may be slightly boosted to make them more vibrant, and the food even more appealing.
As always, it is best to capture raw images for editing. Sony ARW raw files can be edited with Sony’s free Imaging Edge Software for Mac and PC, as well as the most popular photo editing software.
Summary
- Natural Light: Position your setup next to a window for the best-looking food. Soft, diffused light on an overcast day is ideal.
- Work Fast: Shoot quickly while food is fresh - hot meals straight from the oven, crisp salads, and unmelted ice cream will all look their best.
- Styling: Use garnishes like sea salt and herbs for texture and choose plates and surfaces that enhance your food's story.
- Lenses: Use macro lenses to capture fine details and textures, or a 24-70mm zoom for wider shots that reveal context and location.
- Focus Stacking: Use Focus Bracket mode (on Alpha 7R V, Alpha 7 V, Alpha 7 IV, Alpha 6700, and Alpha 1) to capture multiple shots at different focus points, then combine them for front-to-back sharpness.
- Custom White Balance: Set a custom white balance using a grey card to ensure accurate food colours (Exposure/Colour > White Balance > Custom > SET).


