
Top Tips: Shooting Self Portraits
Sandra Hallnor
How to Shoot
There are many reasons to take a self-portrait: you want a picture of yourself, you're testing new gear or lighting setups, or you've found yourself in an amazing location. But self-portraits are also a wonderful creative opportunity - they let you experiment with concepts, lighting, and compositions without the pressure of directing a model or the constraints of someone else's schedule. You have complete control, and you can take as much time as you need to get it right.
Sony cameras and lenses offer several features that make capturing self-portraits easier and more rewarding, from wireless control to articulating screens and advanced autofocus.
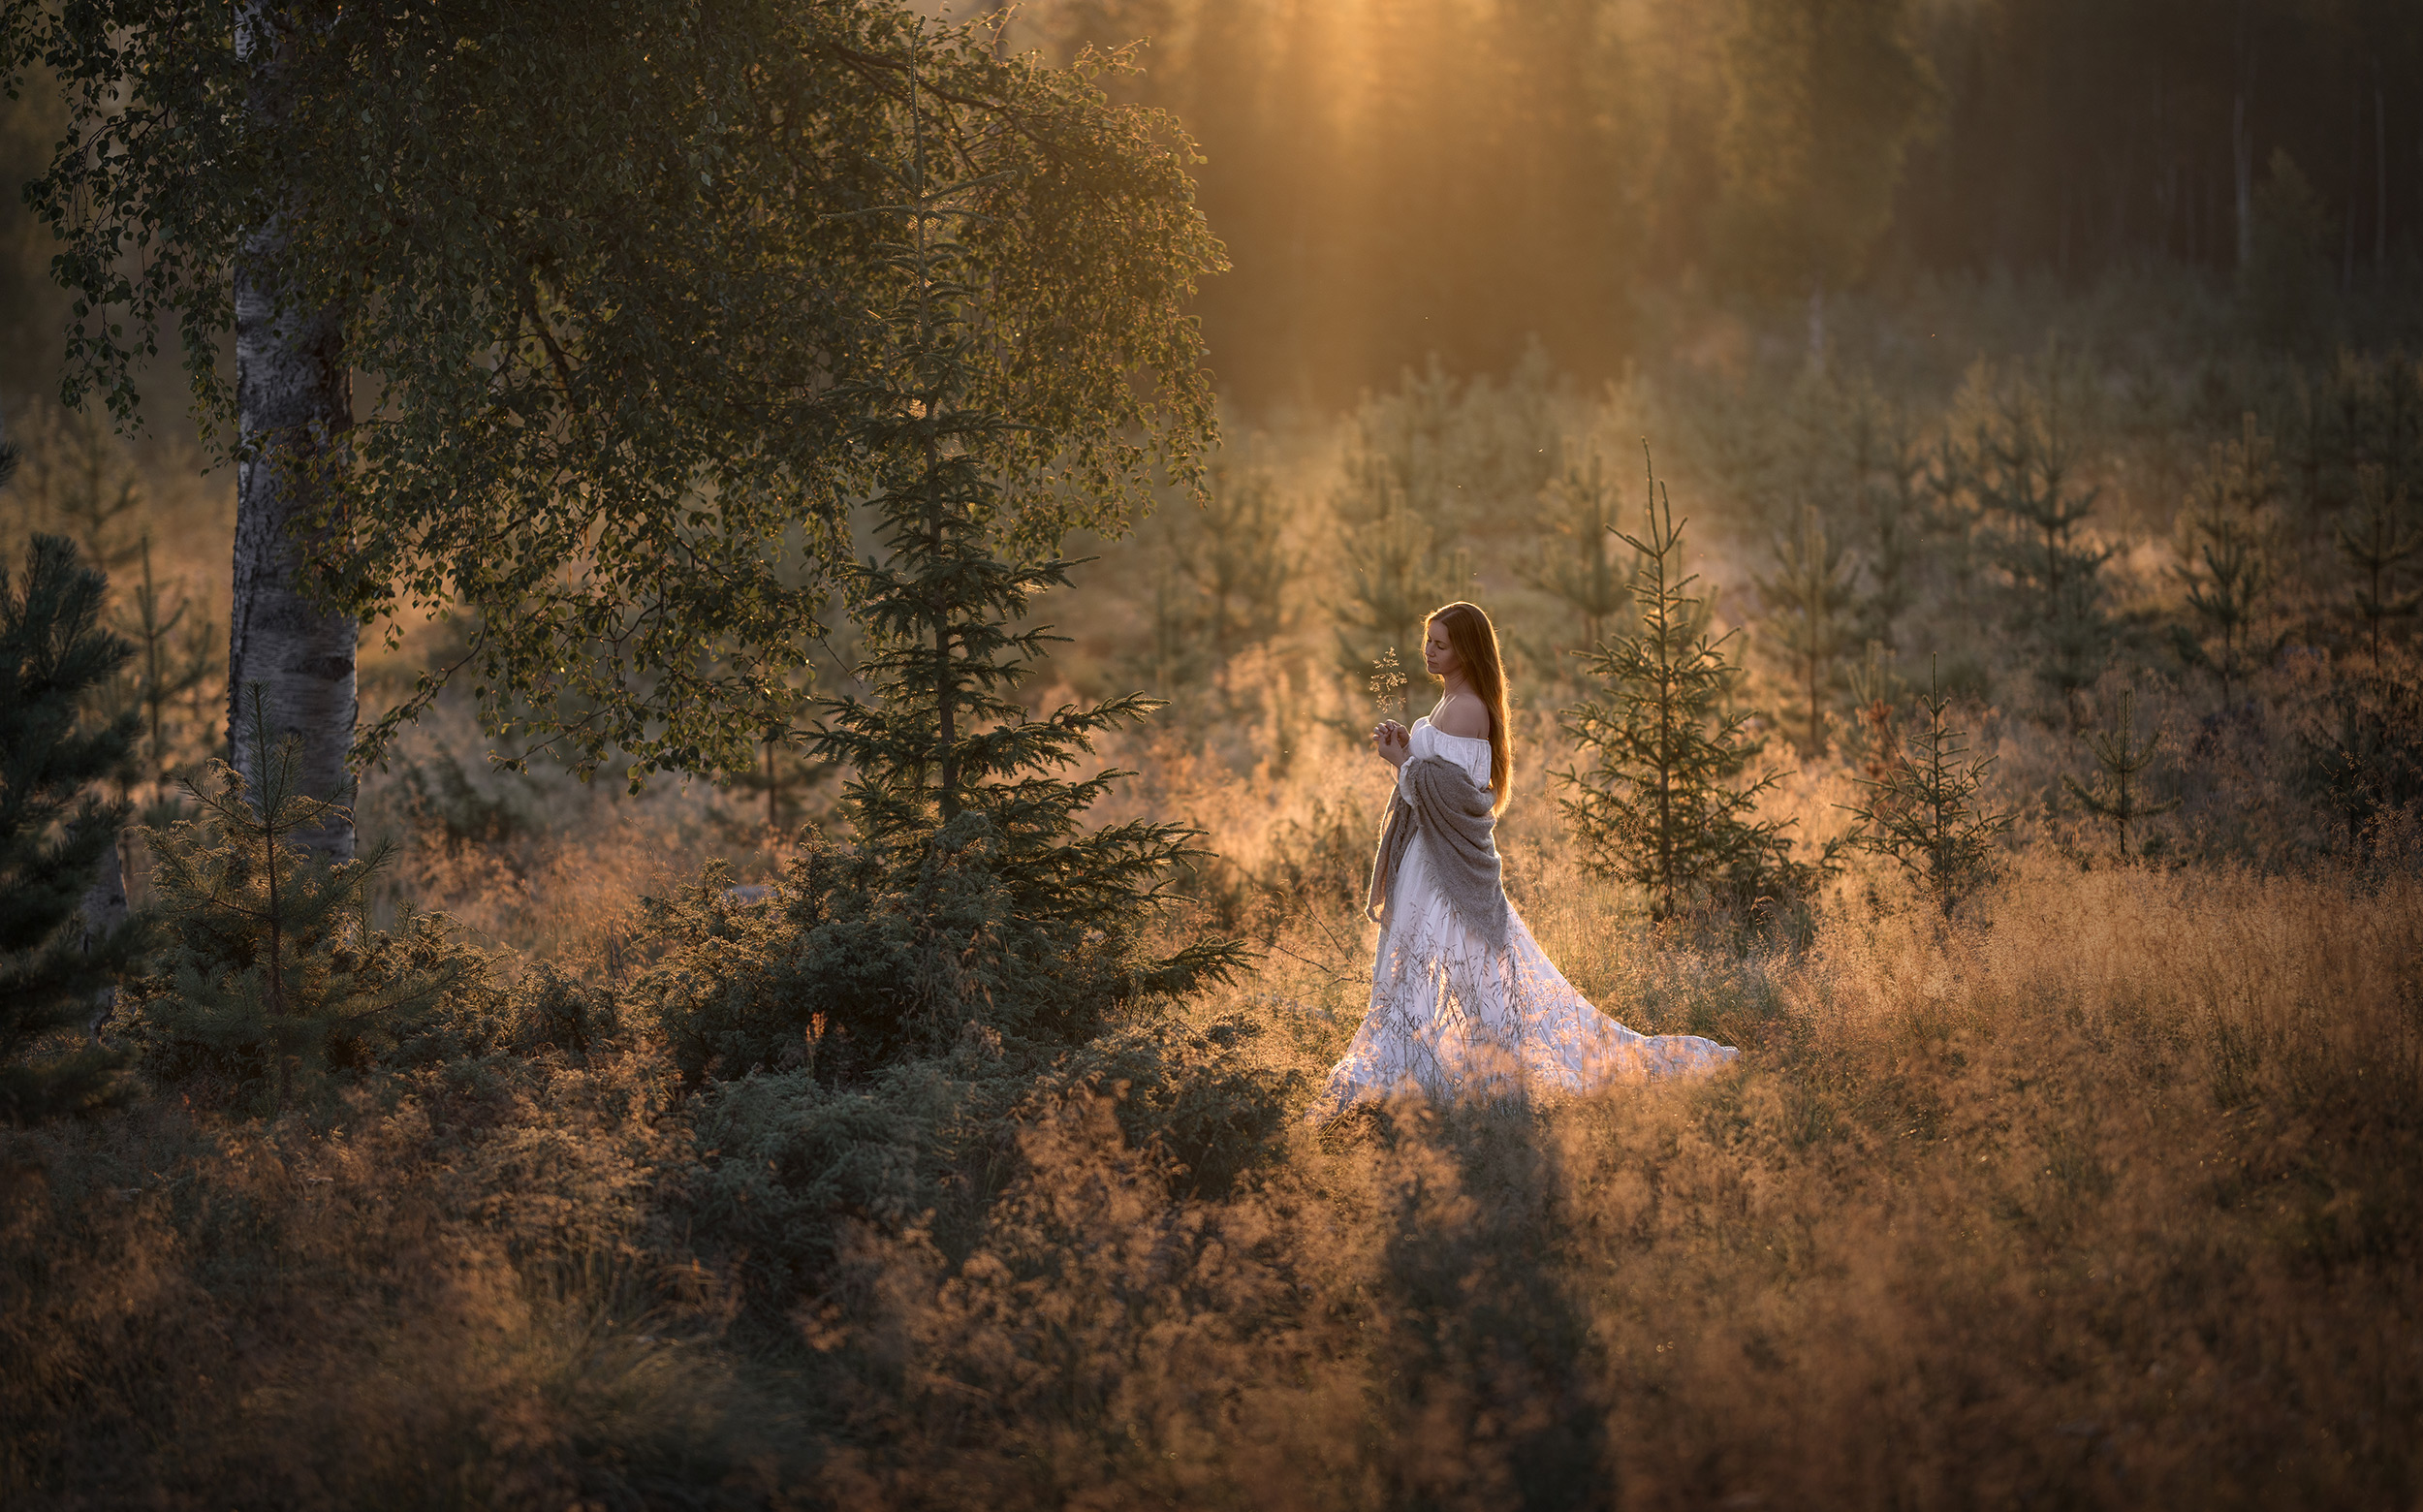
 © Sandra Hallnor | Sony α7 IV + FE 85mm f/1.4 GM II| 1/250s @ f/1.4, ISO 320
Regardless of your approach, you'll need a way to securely support your camera. The obvious choice is a tripod or another device designed to securely hold your camera, such as a clamp or arm. The most important thing is that your camera is secure and safe - you don’t want it falling over unattended.
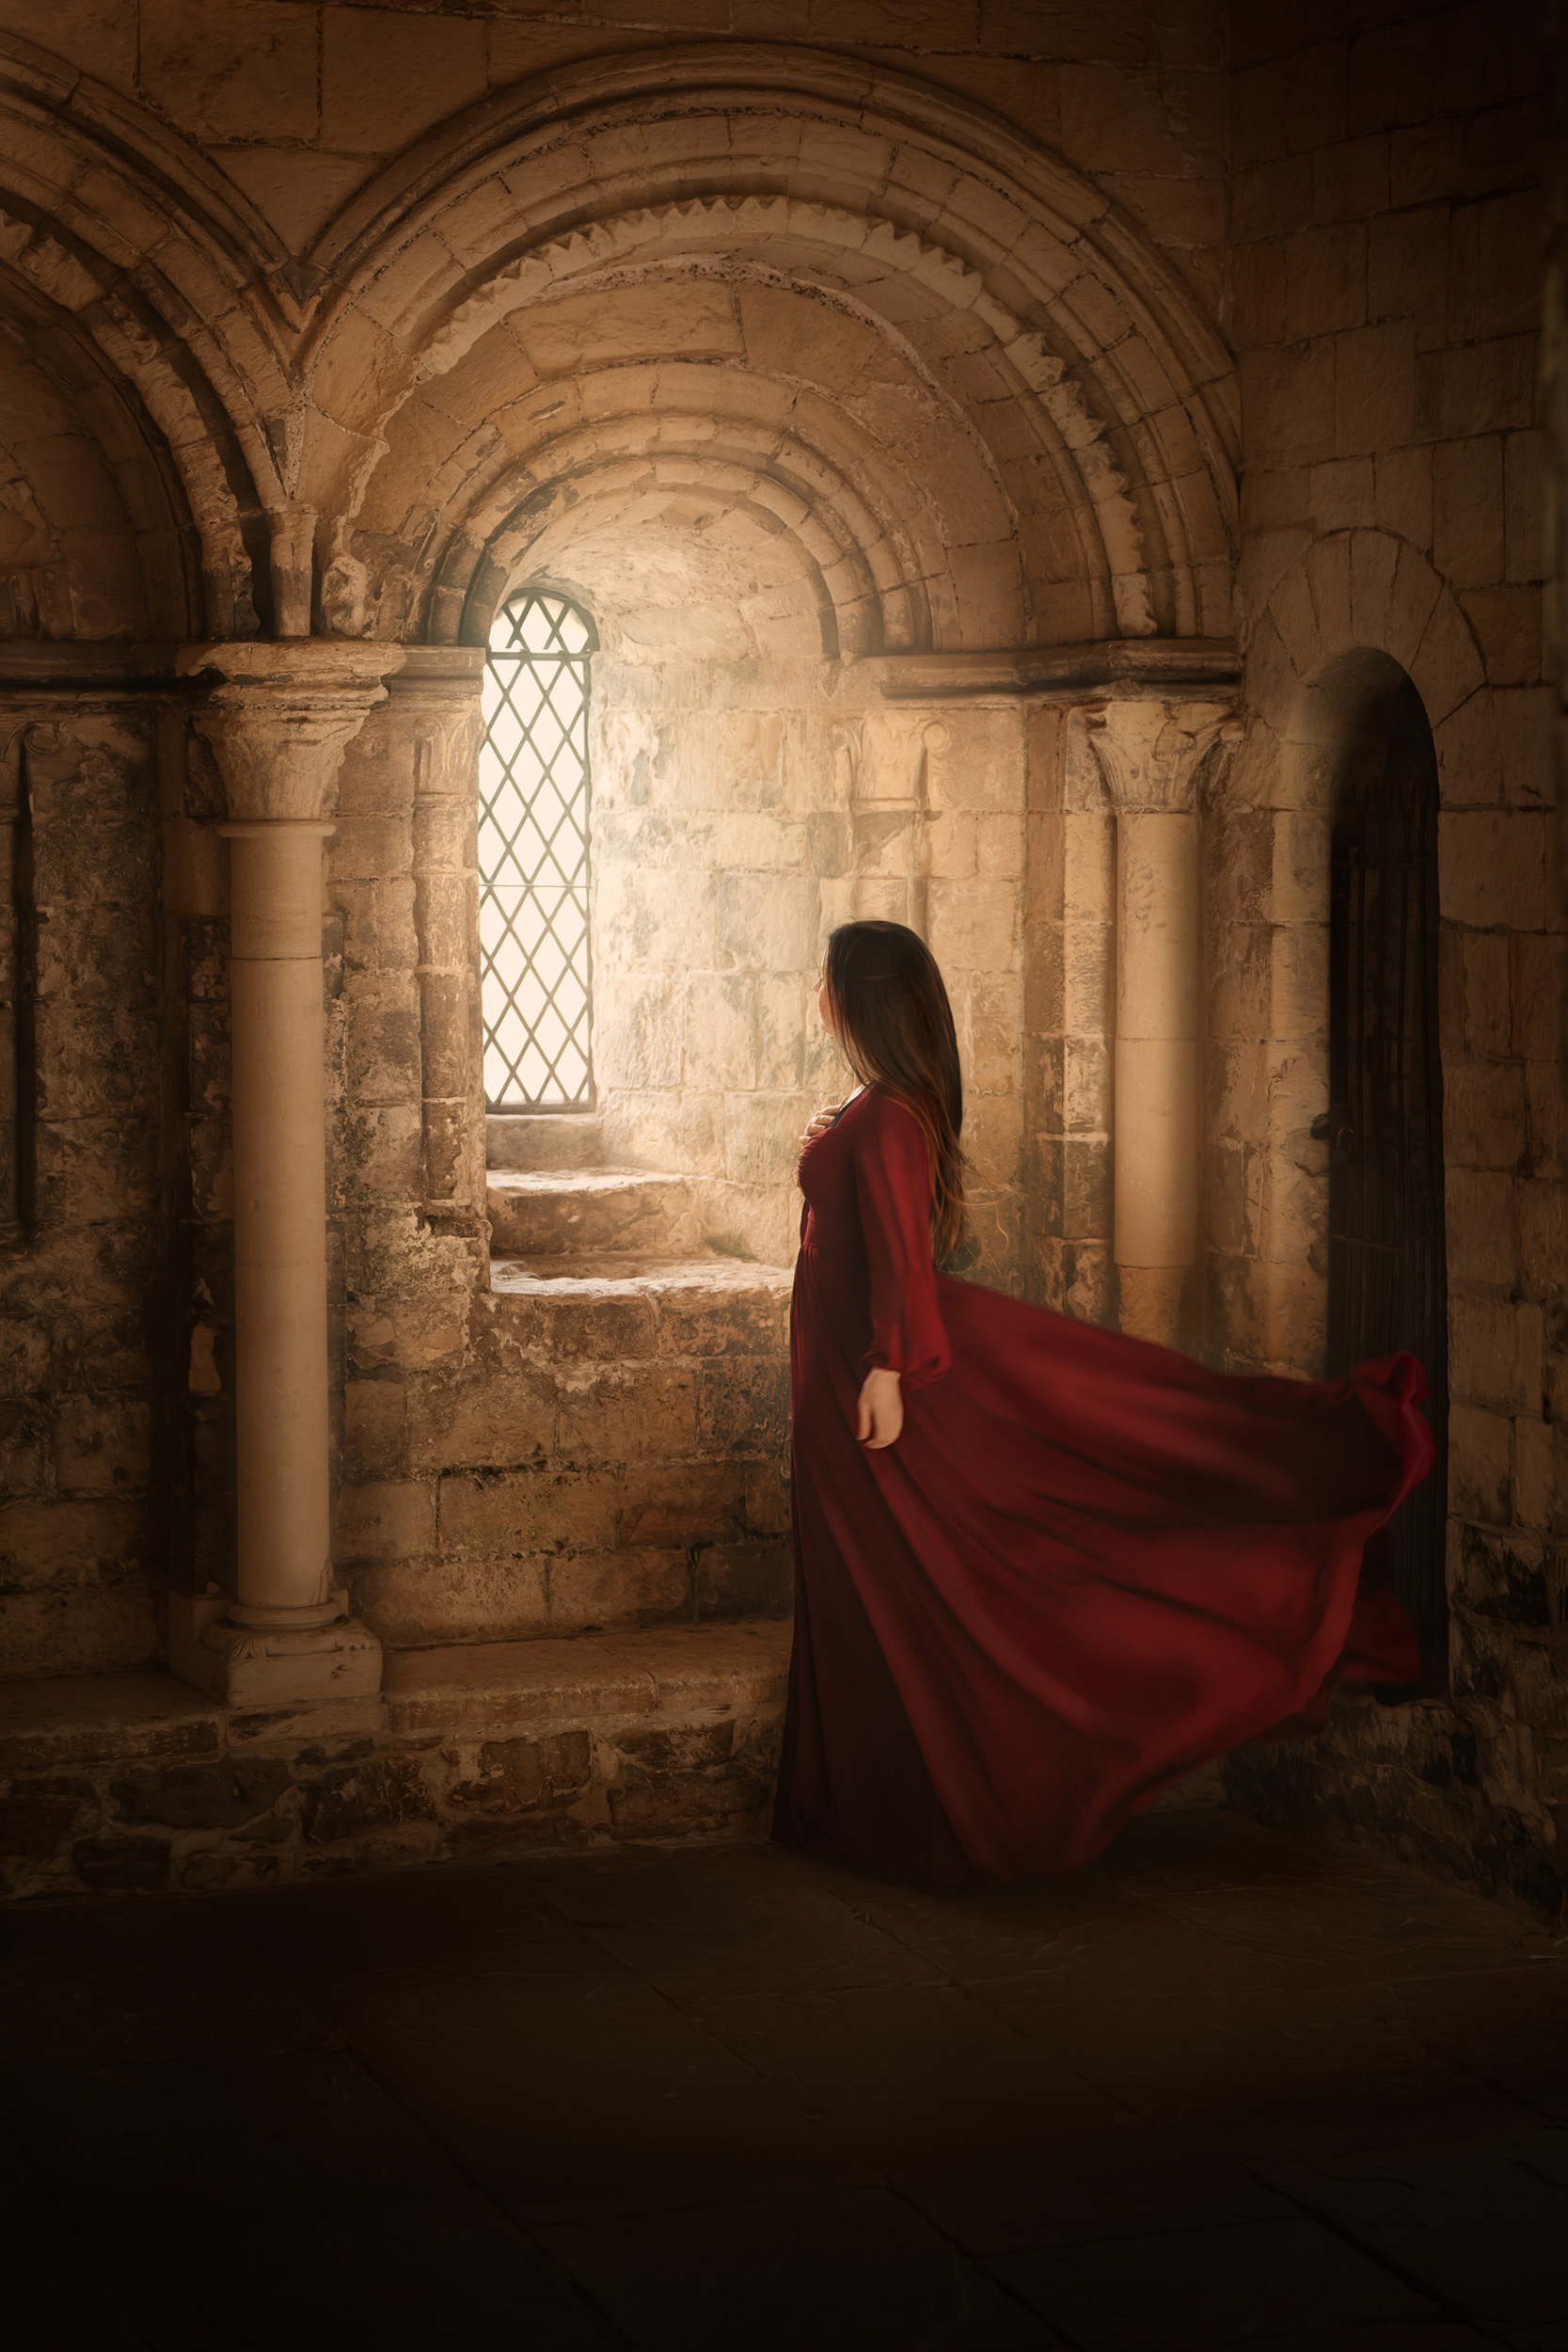
 © Sandra Hallnor | Sony α7 IV + FE 70-200mm f/2.8 GM OSS II| 1/250s @ f/2.8, ISO 320
Framing Yourself
The most difficult issue with a self-portrait is always going to be framing yourself. Thankfully, there are a few features of Sony cameras that can help. To start, frame the shot without yourself in. Then flip the articulated screen around so that you can see and position yourself. If you are far away from the camera, you can connect it to your phone or tablet using the Sony Creators app, available for iOS and Android.
 © Sandra Hallnor | Sony α7R V + FE 85mm f/1.4 GM II| 1/1000s @ f/1.4, ISO 100
With your camera and phone connected, you can preview your image even if you are too far to see your screen. At this point, it may be worth marking a spot on the floor where you are standing to ensure you return to the exact same spot. Use a piece of tape on the floor in a studio; outside, use a stick or a pebble as a quick marker.
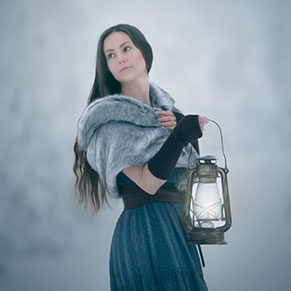
 © Sandra Hallnor | Sony α1 II + FE 85mm f/1.4 GM II| 1/2500s @ f/2.8, ISO 125
Self Timer and Interval Shooting
Once you are in position, you need to be able to fire the shutter. Again, there are several ways to do this. Perhaps the simplest way is to use the appropriately named ‘self-timer’, which is found in the Drive Mode menu. You can set this to 2,5 or 10 seconds, giving you time to get into position before the shot is taken. You can even pair the Self-Timer with continuous shooting, which is also available in the Drive Mode menu as Self-Timer (Cont). This feature lets you shoot a burst of up to 5 images automatically, which is great if you want to jump or perform an action. Similarly, you could use the Interval Shooting feature (Camera Settings menu - Interval Shoot Func.) and have even more control over the number of images and time between each one.
 © Sandra Hallnor | Sony α1 II + FE 85mm f/1.4 GM II| 1/160s @ f/1.4, ISO 100
Remote Triggering
There are a variety of Sony remote control releases that let you fire the camera from a distance. The Sony VPR1 is a wired device, with a fairly short cable, but it may be suitable if you are within arm's length of the camera. Other options are the RMT-P1BT Remote Commander and RMT-VP2 Wireless Remote Commander. Both of these devices connect to the camera via Bluetooth, allowing the camera to be fired from around 10m away.
Of course, the easiest way is to use the Sony Creators app to not only compose your image but also fire the shutter, check and adjust focus, and even adjust exposure settings, all from your Smartphone.
 © Sandra Hallnor | Sony α7 IV + FE 70-200mm f/2.8 GM OSS II| 1/320s @ f/2.8, ISO 100
If your hands aren’t in shot, it is easy to fire the shutter. If they are, then you can get creative and press the remote button from inside a pocket. Alternatively, use a remote with the self-timer feature, giving you a second to carefully hide it somewhere. Just don't move too much so you stay in focus.
 © Sandra Hallnor | Sony α7R V + FE 70-200mm f/2.8 GM OSS II| 1/125s @ f/2.8, ISO 320
Focusing
It is important to remember that the focus will lock when the shutter is fired; the camera will not adjust during the Self-Timer countdown or between interval shots. Having a marker on the floor helps in this situation, or in a studio, use a lighting stand or chair, as it gives you a point to focus on once you have framed yourself. Use a smaller aperture than usual to allow for a greater depth of field.
If you are using a remote trigger, things are a little easier: you can choose AF-C, set the camera to Subject Detection - Human, and turn Eye AF on. When you fire the shutter with the remote, it will focus and take the shot, getting the eyes perfectly sharp. Operating in this way also allows you to use a larger aperture for a shallow depth of field.
 © Sandra Hallnor | Sony α1 II + FE 70-200mm f/2.8 GM OSS II| 1/1250s @ f/2.8, ISO 100
When using the Sony Creators App, set the focus to AF-A mode, and the camera should automatically detect and track you as the subject, keeping you perfectly in focus when you press the shutter button on your smartphone.
 © Sandra Hallnor | Sony α1 II + FE 28-70mm f/2 GM| 1/100s @ f/2.0, ISO 125
Lenses
A self-portrait is just a portrait, so the same lenses that work well for portraits work here. The standout option is the FE 85mm f/1.4 GM II lens, which is compact and lightweight, with extraordinary image quality and incredible bokeh. For a slightly wider shot, the Sony FE 50mm f/1.2 GM has an incredible f/1.2 maximum aperture that produces buttery-smooth bokeh, blurring the background and allowing you to focus all attention on the subject's eye. However, there are many options in the E-Mount lens line-up that are suitable, with the FE 50mm f/1.8 and FE 85mm f/1.8 being exceptional lenses for those starting out.
Featured products


Sandra Hallnor | Sweden
"Keep your passion playful, fresh and fun."


